The Teams Emergency Calling Policy is a powerful and it’s an important one to understand. There is a Global policy that always applies, or custom policies can be created and assigned directly to users (these will take precedence over the Global policy) or custom policies can be created and assigned to a network site (under Locations > Network Topology, these will take precedence over Global and user assigned).
One of the more interesting bits in the Emergency Calling Policy is this one:

The notification mode has 4 settings. “None” is pretty straightforward. “Send notification only” will send an IM to the users and/or groups specified at the bottom of the screenshot. The other two are a bit more complex. Clicking on the info button beside “Notification mode” gets us this:
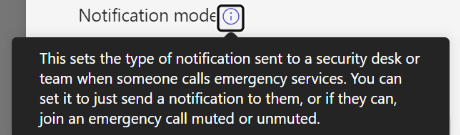
Which doesn’t do a great job of explaining things.
The learn article for this policy provides this:

Which seems much better – the value of more space for the explanation, I guess. A bit further down the page in the article we see this:

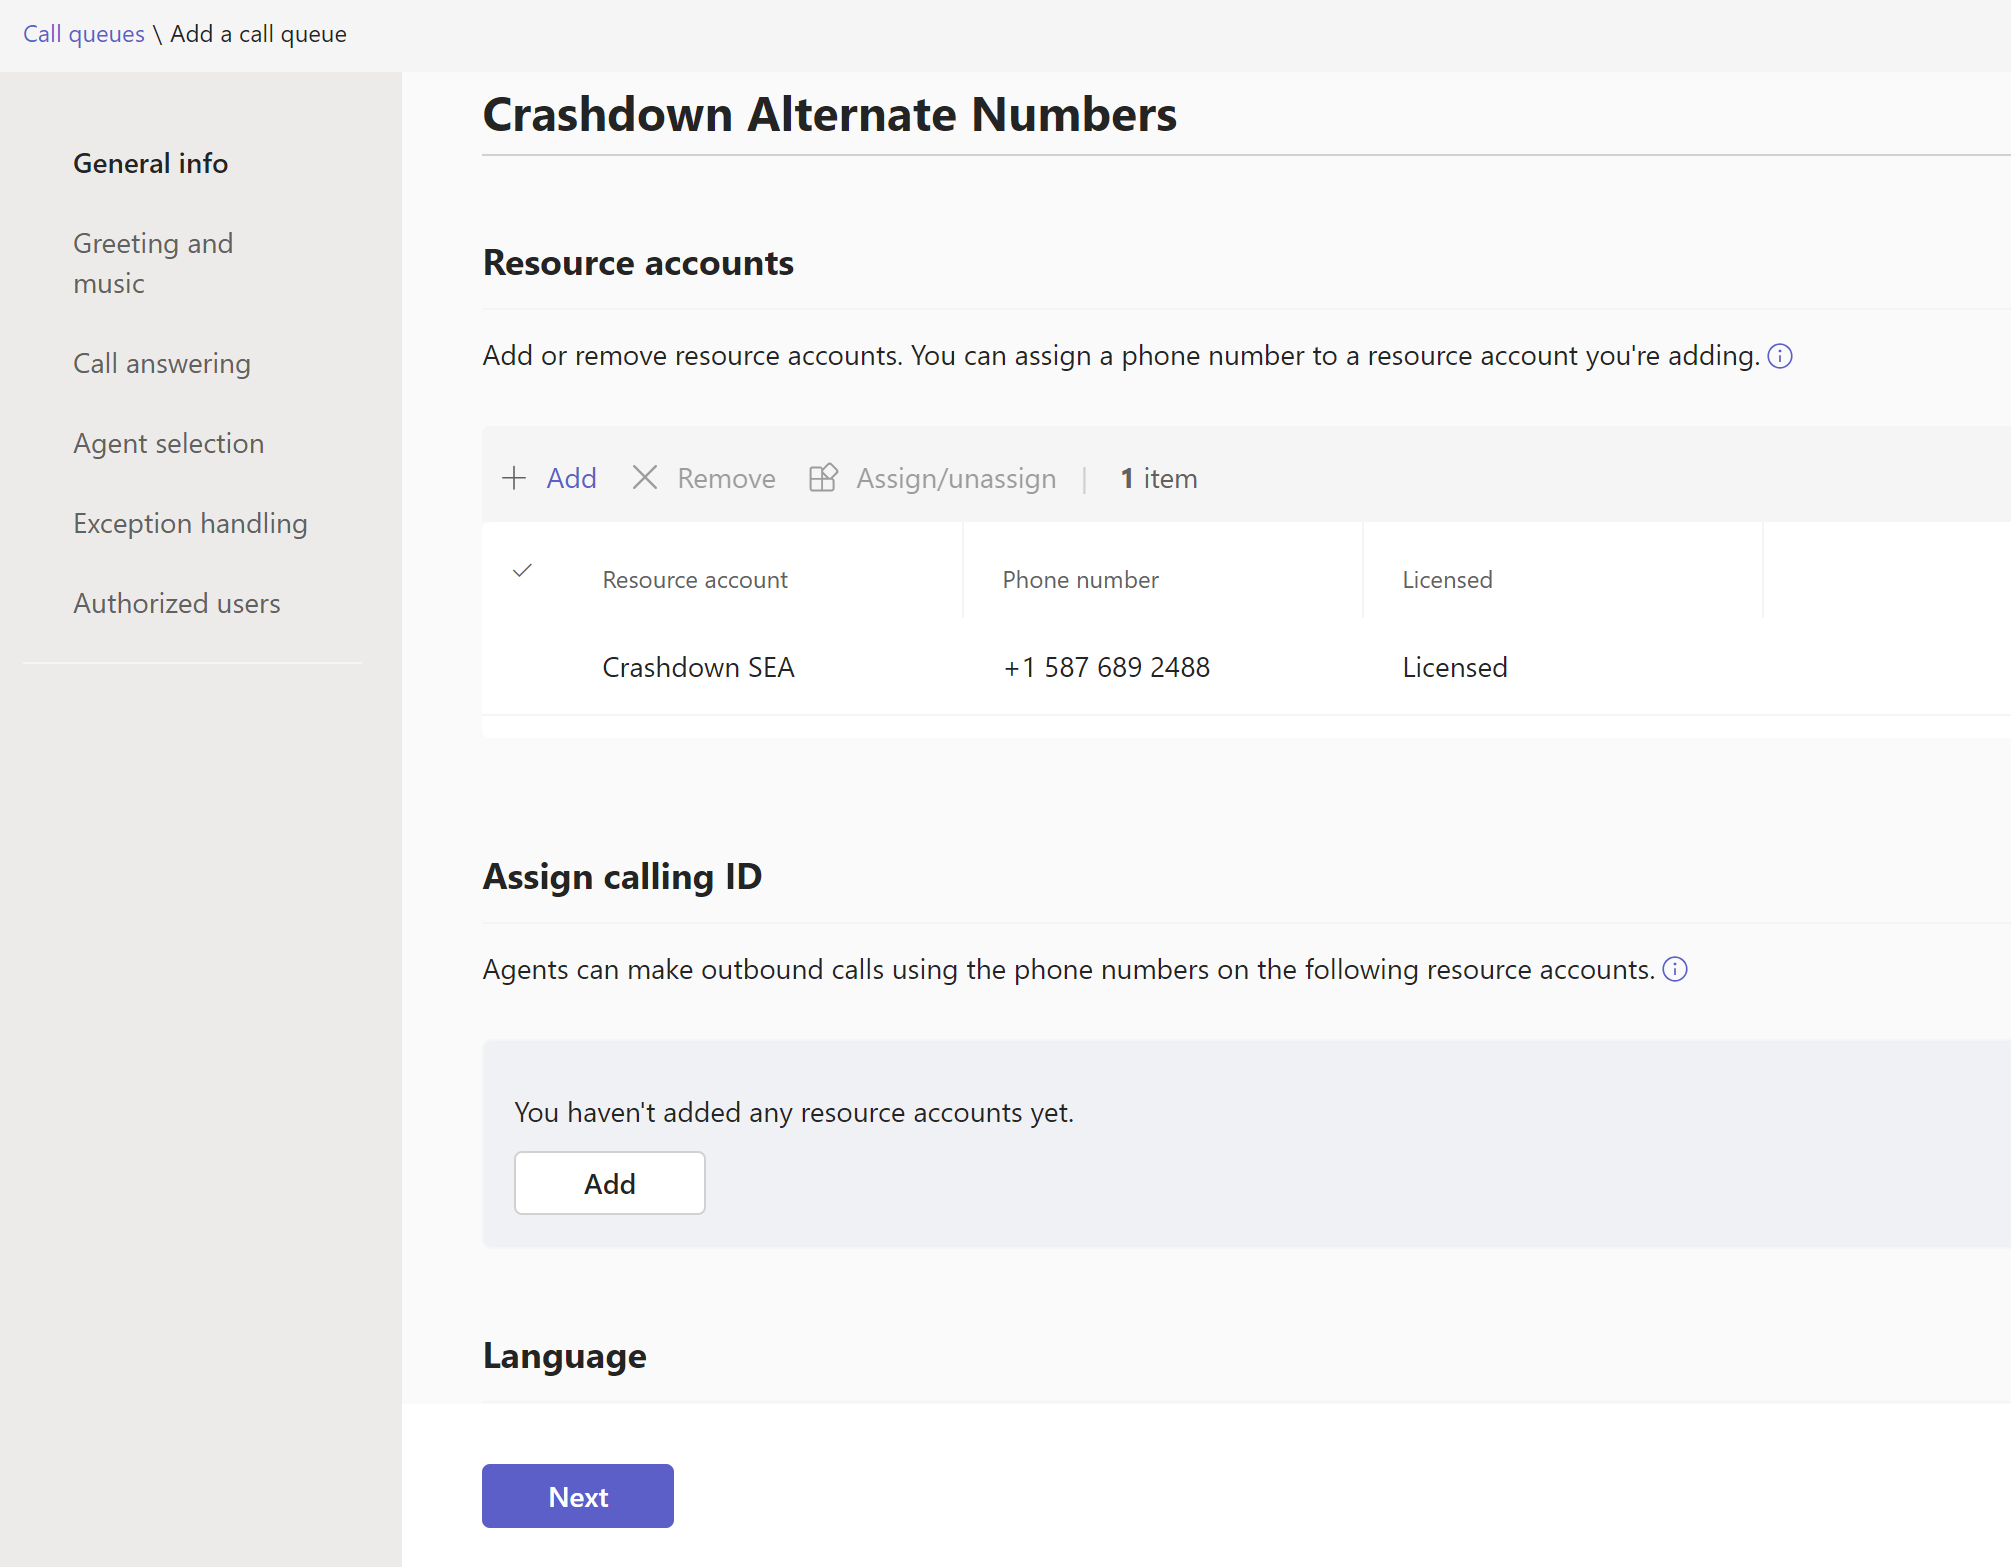
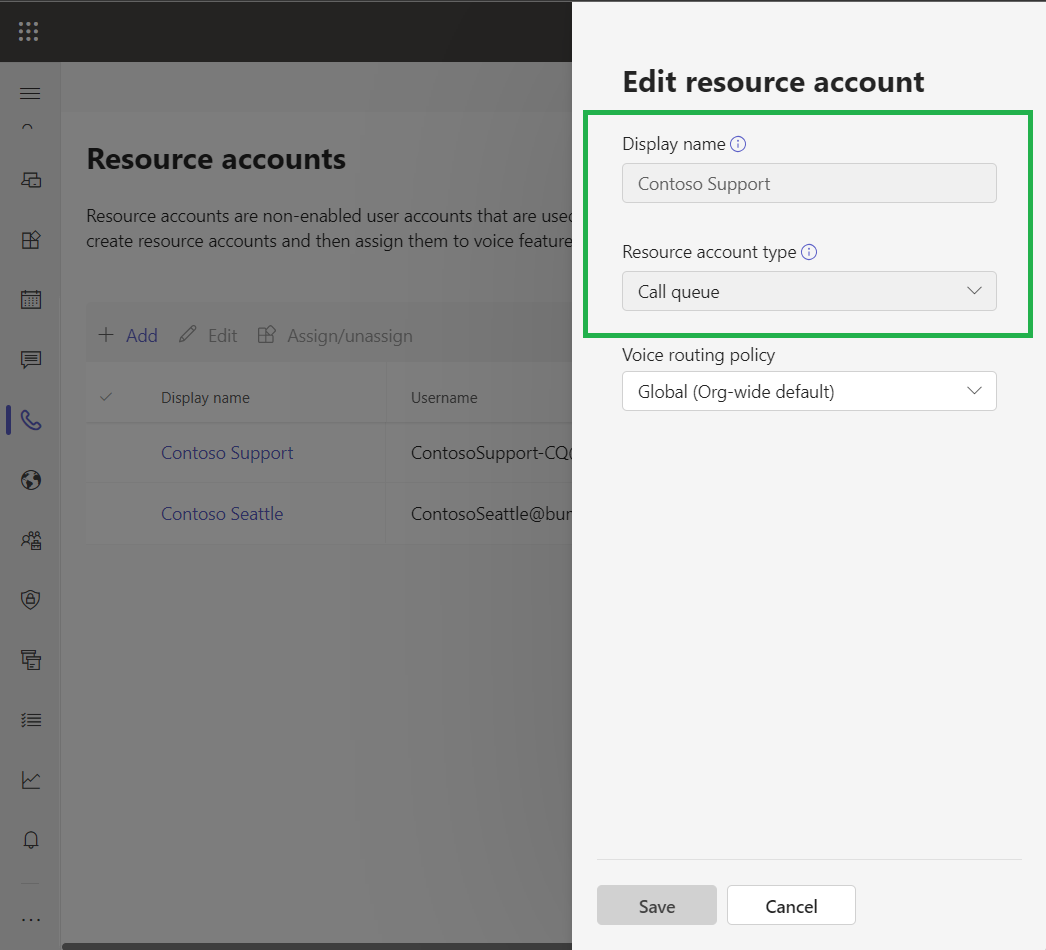
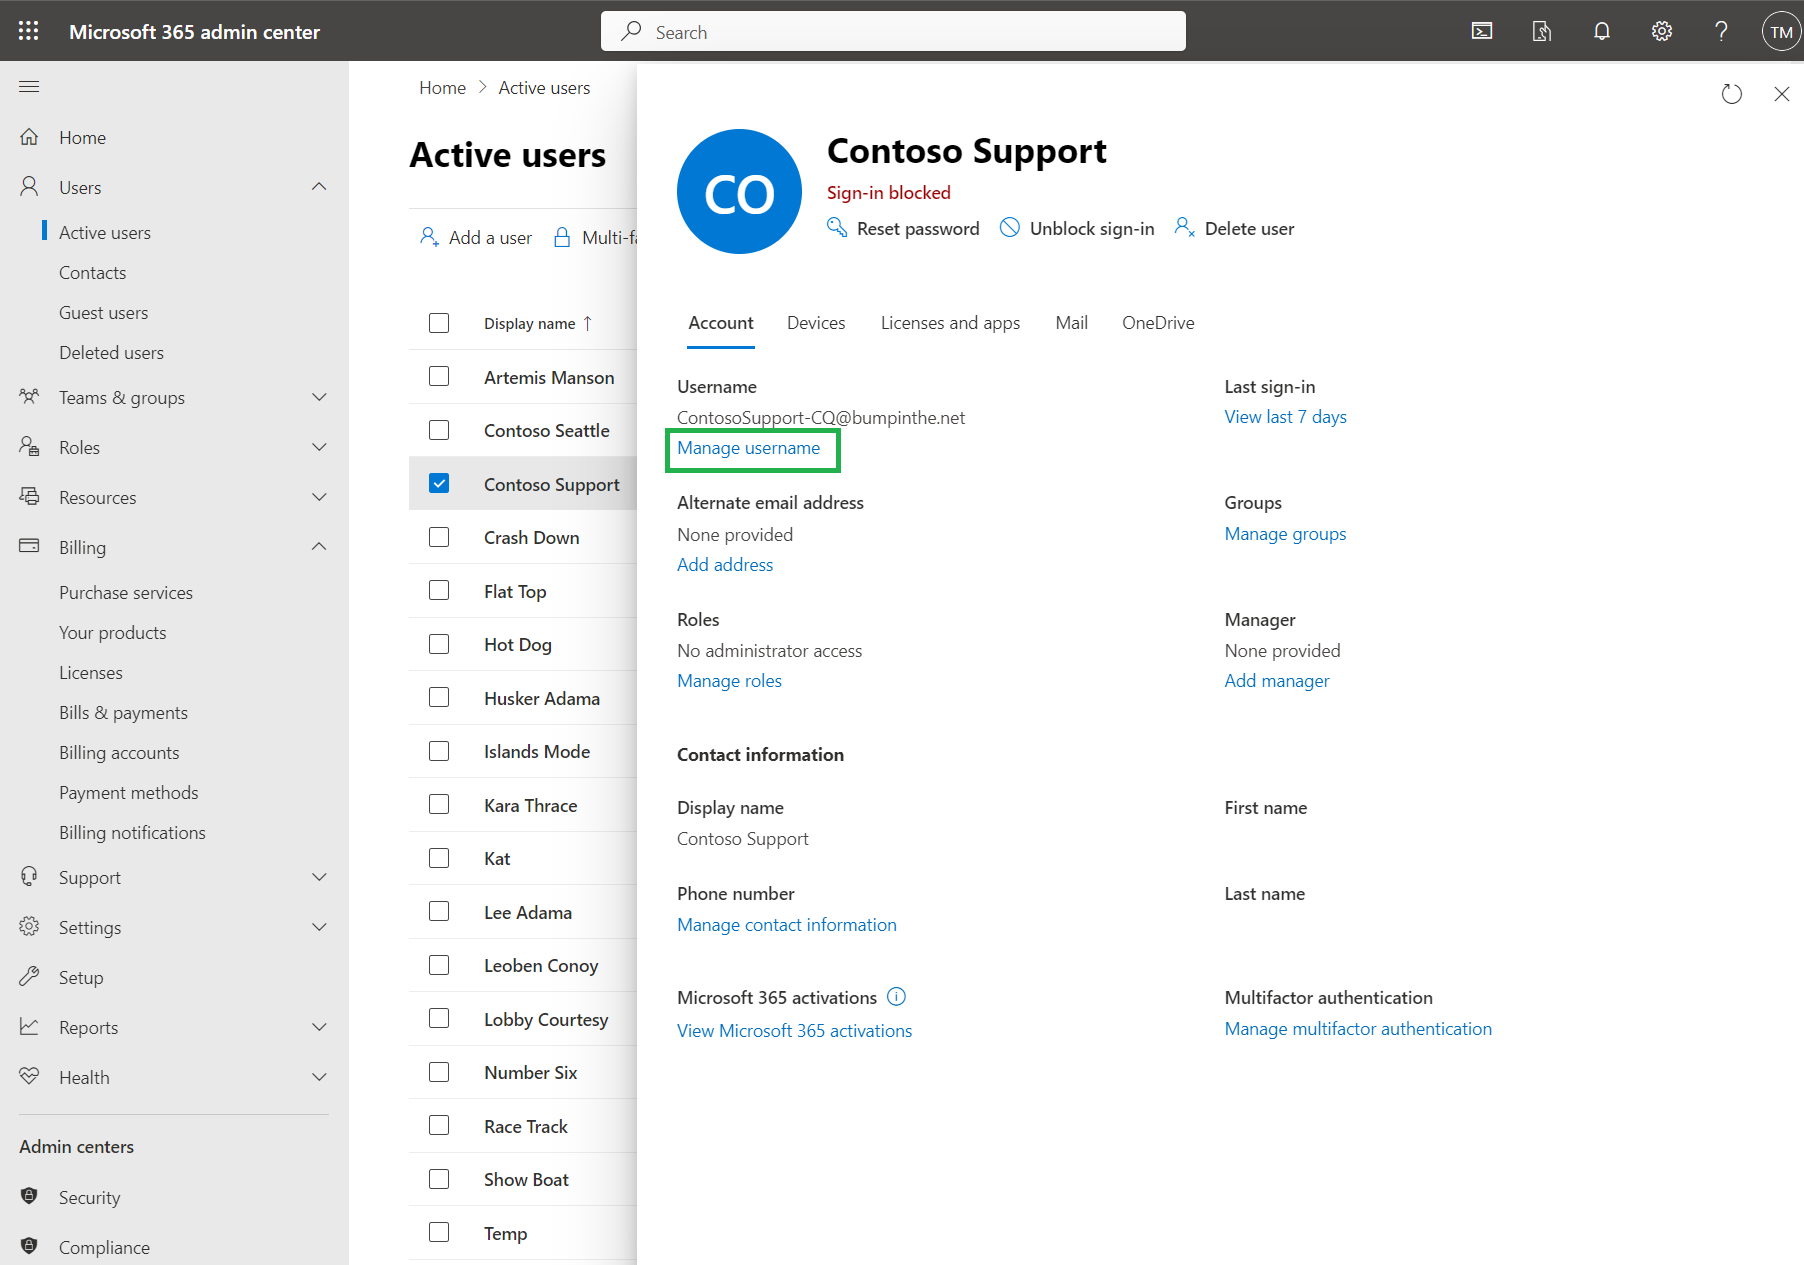
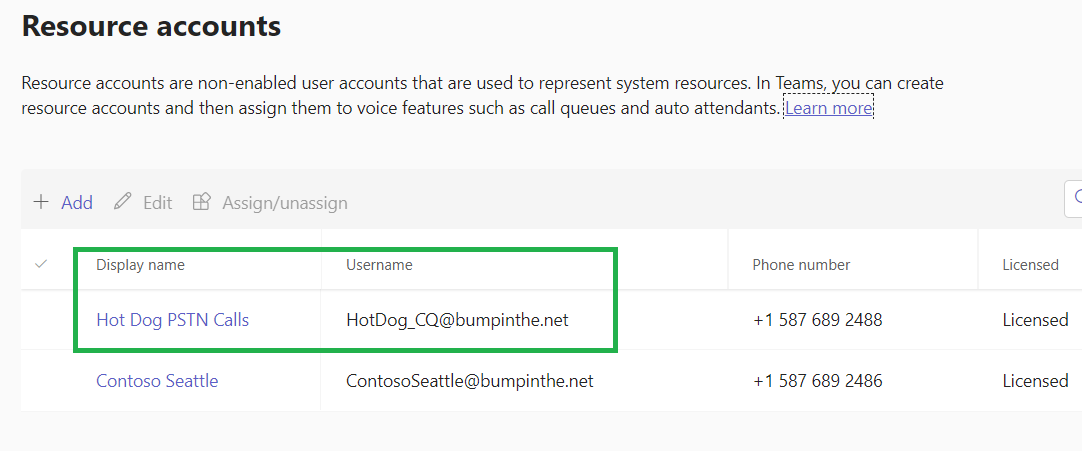
This seems a bit off to me, specifically the phrasing “a user or group”. First, there’s no type of group in M365 or Teams that has a phone number. Second, if you want to include a Teams user, add their name to the users/groups section. What you should be putting in here is a PSTN phone number, in E.164 format (+14258675309, for example). That will allow a single number – perhaps external from the organization – to also be conferenced into the call.
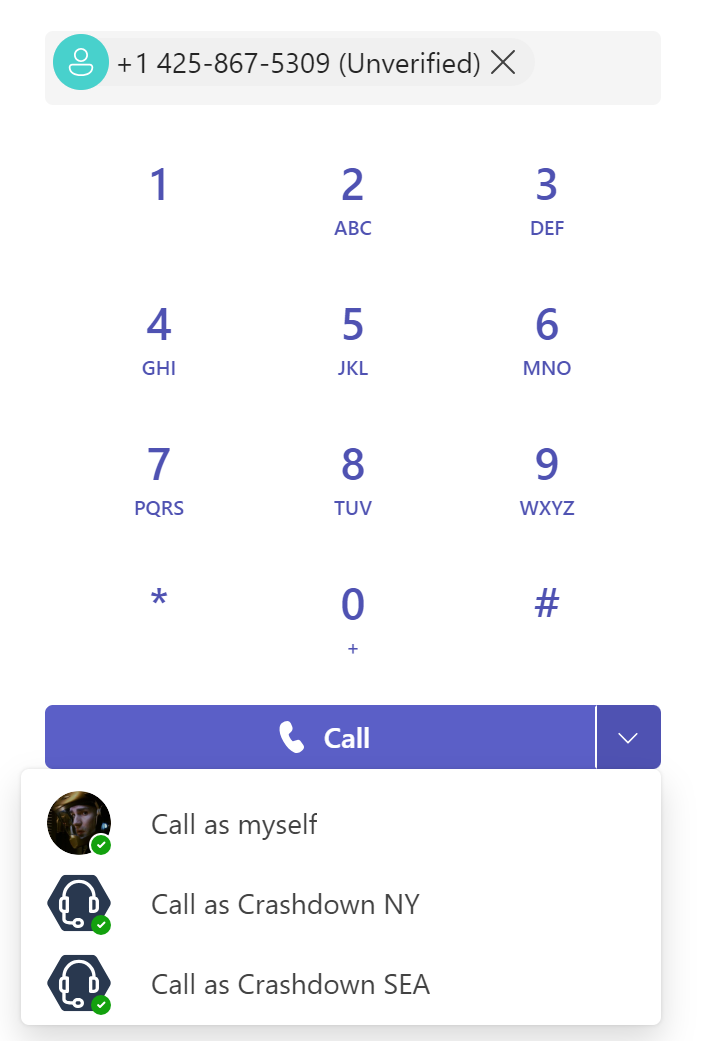
The caller ID that shows is the name and DID of the user who placed the emergency call – all caller ID policies, etc., don’t apply to emergency calls. Within Teams, users who are being notified will see this:

We see the photo of the user who placed the emergency call (left), we see the big red symbol indicating the PSAP (right), and at the top we see that we are starting this call muted and we can unmute. At the bottom we can see the phone number of the person placing the emergency call. If the caller’s location has been determined inside your facilities or if they’ve entered/confirmed their location outside your facilities, that address would also show here.
Standing on my Soapbox with Tales of Caution
I feel that the ability to be conferenced into an emergency call is a bit of a double-edged sword. Consider these points:
- You may want someone like a receptionist to receive the IM alert so they can be prepared to assist by letting emergency personnel in and directing them to the caller.
- You (and the receptionist from the temp agency who’s covering this week) likely don’t want the receptionist to be conferenced into a live emergency called, muted or not. That’s a high stress, possibly quite traumatic experience. Consider carefully who will receive calls! They should be trained for emergency situations.
- I know an unreasonable number of emergency services personnel. Everyone that I’ve asked about whether it would be beneficial for other parties to be conference in and able to speak said “NO!”. The call taker at the PSAP is busy running their call tree to ascertain what’s going on, and they have seconds to complete that and get the call send out to responders. The very last thing they need is to be interrupted with “hey Jim, it’s Sam, what’s going on?” or whatever.
- If you do allow users to unmuted in the conference, they need to be aware of the call taker’s process and should not interrupt them. When they do unmute, they should give their name and explain to the call taker that they’re conferenced in “Operator this is Jim with Contoso Security, I’ve been conferenced into the call.” Then pause to let the call taker factor that in, and work Jim in to the call taking process – don’t flood the call taker with information.
- Have a policy for who will unmute. Put yourself back on mute when you’re not talking so that background noise isn’t added to the call.
- Do not use the emergency call to coordinate your internal response. Use radios, mobile phones, PA systems, or whatever else you need. Don’t take over the emergency call.
- Recall from point 7 from the learn article above, that the PSTN number cannot unmute.
Take your time with this policy’s capabilities. If your organization hasn’t fully baked their policy on who might be conferenced in and how, then start with just the IM notifications.