If you’re using Teams call queues, you may have stumbled across this issue: How do I change who gets the calls? As it turns out, there are a lot of ways! Here they are, in no particular order:
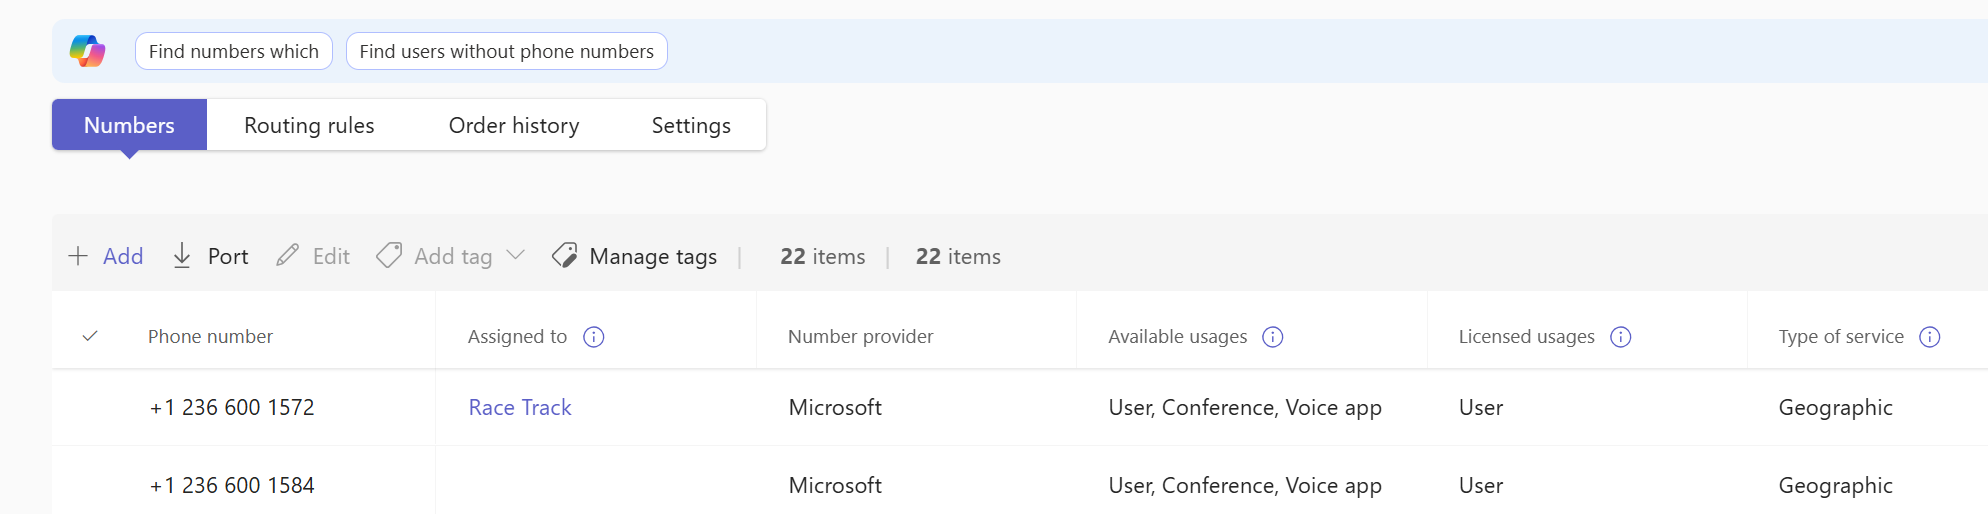
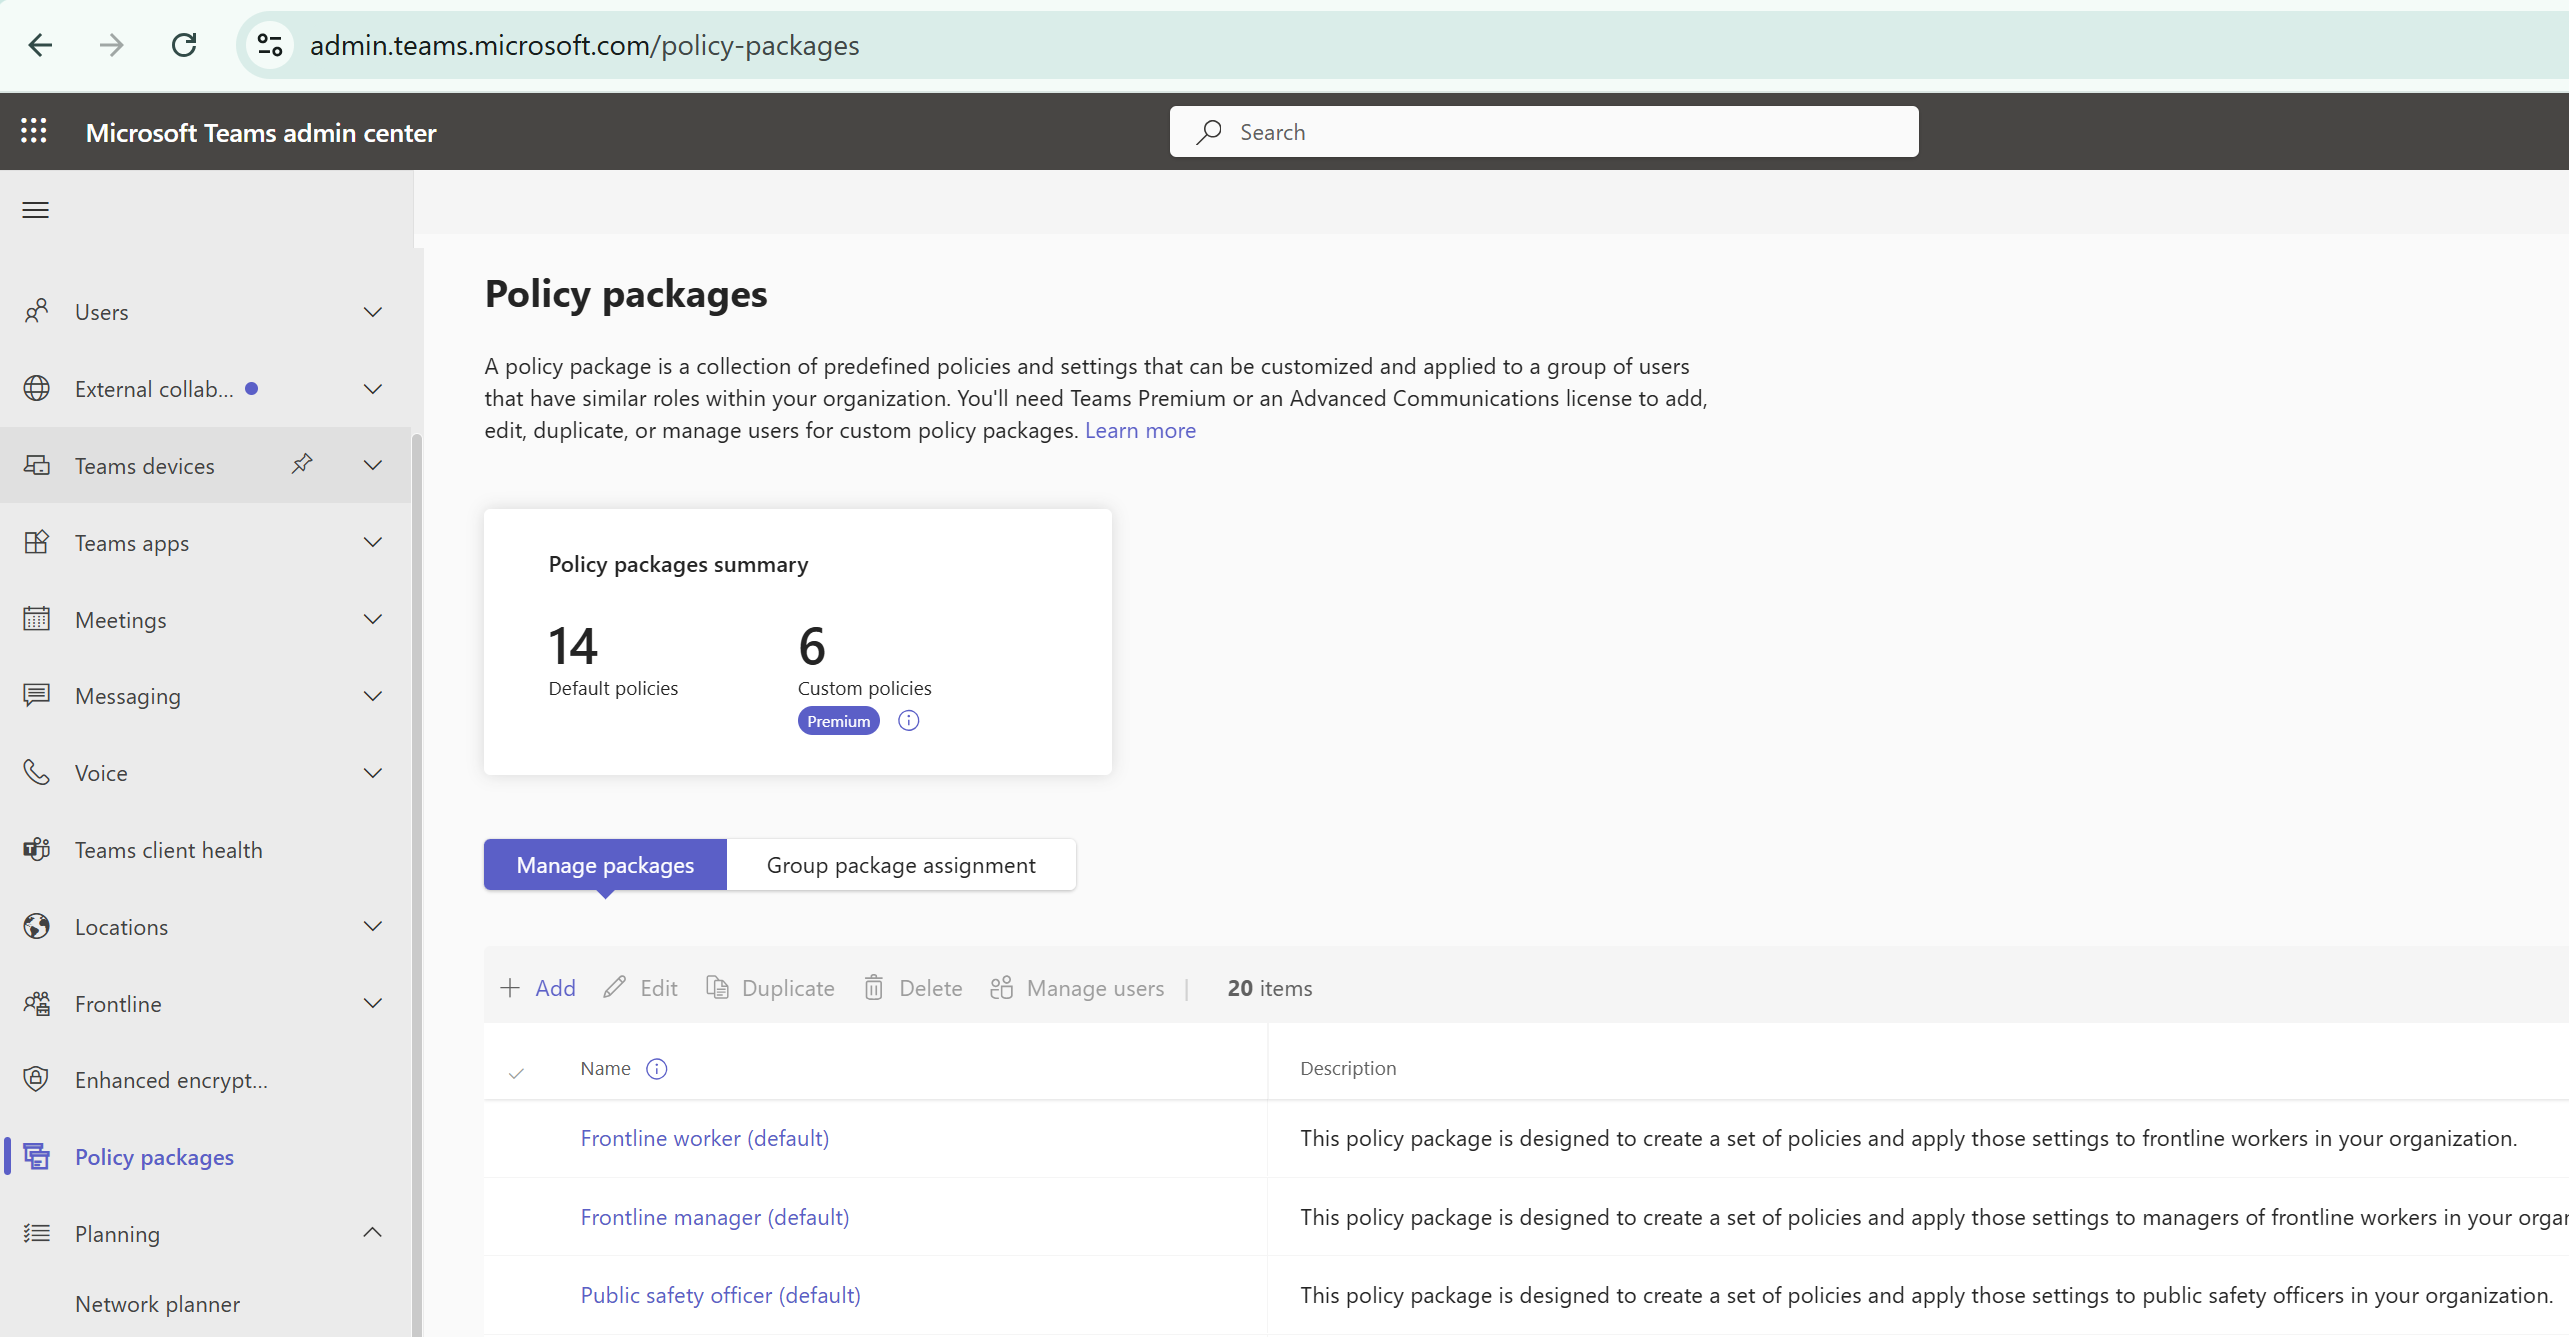
Call answering configuration in TAC
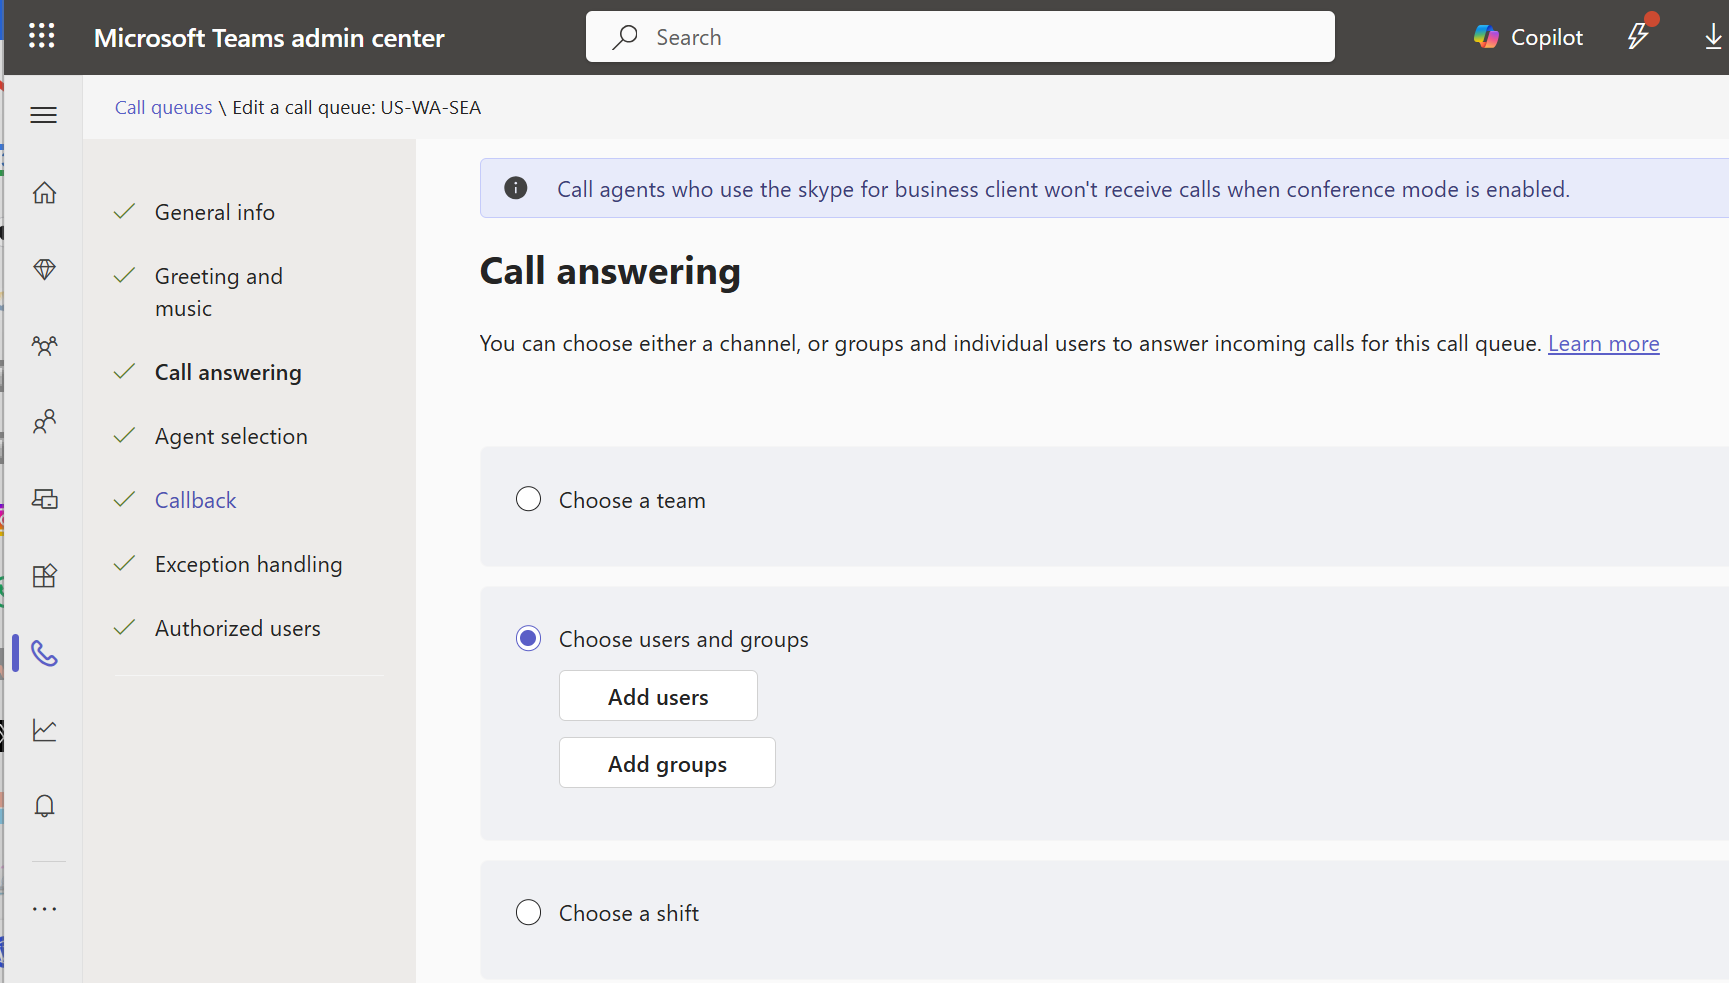
In TAC when you’re editing or building your queue, you can select a team, users/groups, or a shift to handle calls to the queue.
Using a team
I rarely see organizations use this method, though interestingly those who do use it swear by it. That tells me that it offers great functionality within a really limited scope. Everyone in the team is a member, and only users in the team, so there’s not a lot of flexibility here. As a plus, queue owners get to manage the queue. Most of the pluses of this option have rolled into other spots in Teams: Authorized Users aka “queue admins” with customizable scopes, shared voicemail/call history, and Queues App.
Using users and groups
This is the configuration that I see used most often. It offers a broad range of flexibility in that you can mix and match groups. If you add users, then administration must be done via TAC or authorized users. If you add group(s), then changes to those groups’ membership in Entra ID mean changes in the queue agent list. This is a good thing as it lets you push queue agent admin to your servicedesk with lower permissions. It’s a bad thing because now should group membership change for some other reason, your queue membership can change.
Note that some queue ring patterns – serial and round-robin – can be ordered so that agents will be rung in order. If you add a group to the agent membership, you will no longer have the ability to control the order.
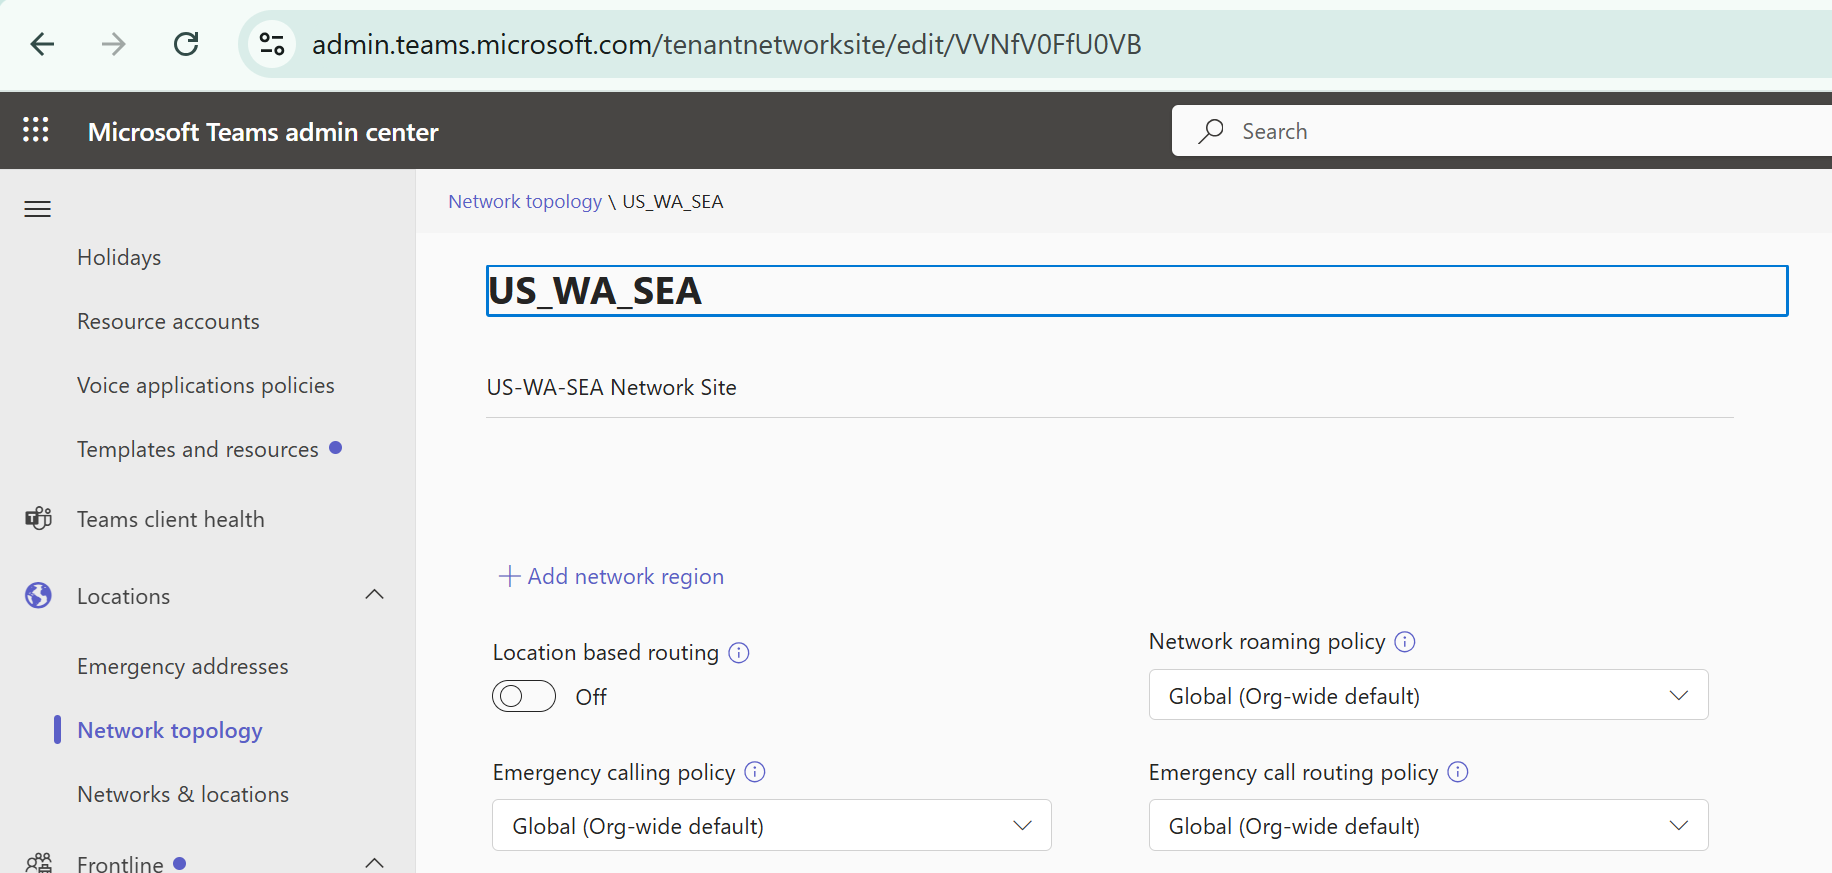
Using a shift
Shifts are part of Microsoft’s frontline worker offering, though it’s included in Teams. Shifts allows, among other things, manager(s) to schedule their team for shifts. When a team member is on shift, they are an agent in the call queue. When they are off shift, they are automatically no longer part of the queue. This is a great way to manage very dynamic queues.
Using opt-in/opt-out
Opt-in/out could also be called sign-in/sign-out, but it only applies to the queue, and not to Teams or Windows, so perhaps a good thing that sign-in/out wasn’t re-used to mean yet one more thing. Users can opt in or out of queue agent membership, putting control of whether they’ll get calls in their own hands. This is a good option with mature, responsible users. Some users may take advantage of this feature to hide from getting calls, or they may forget to opt back in.
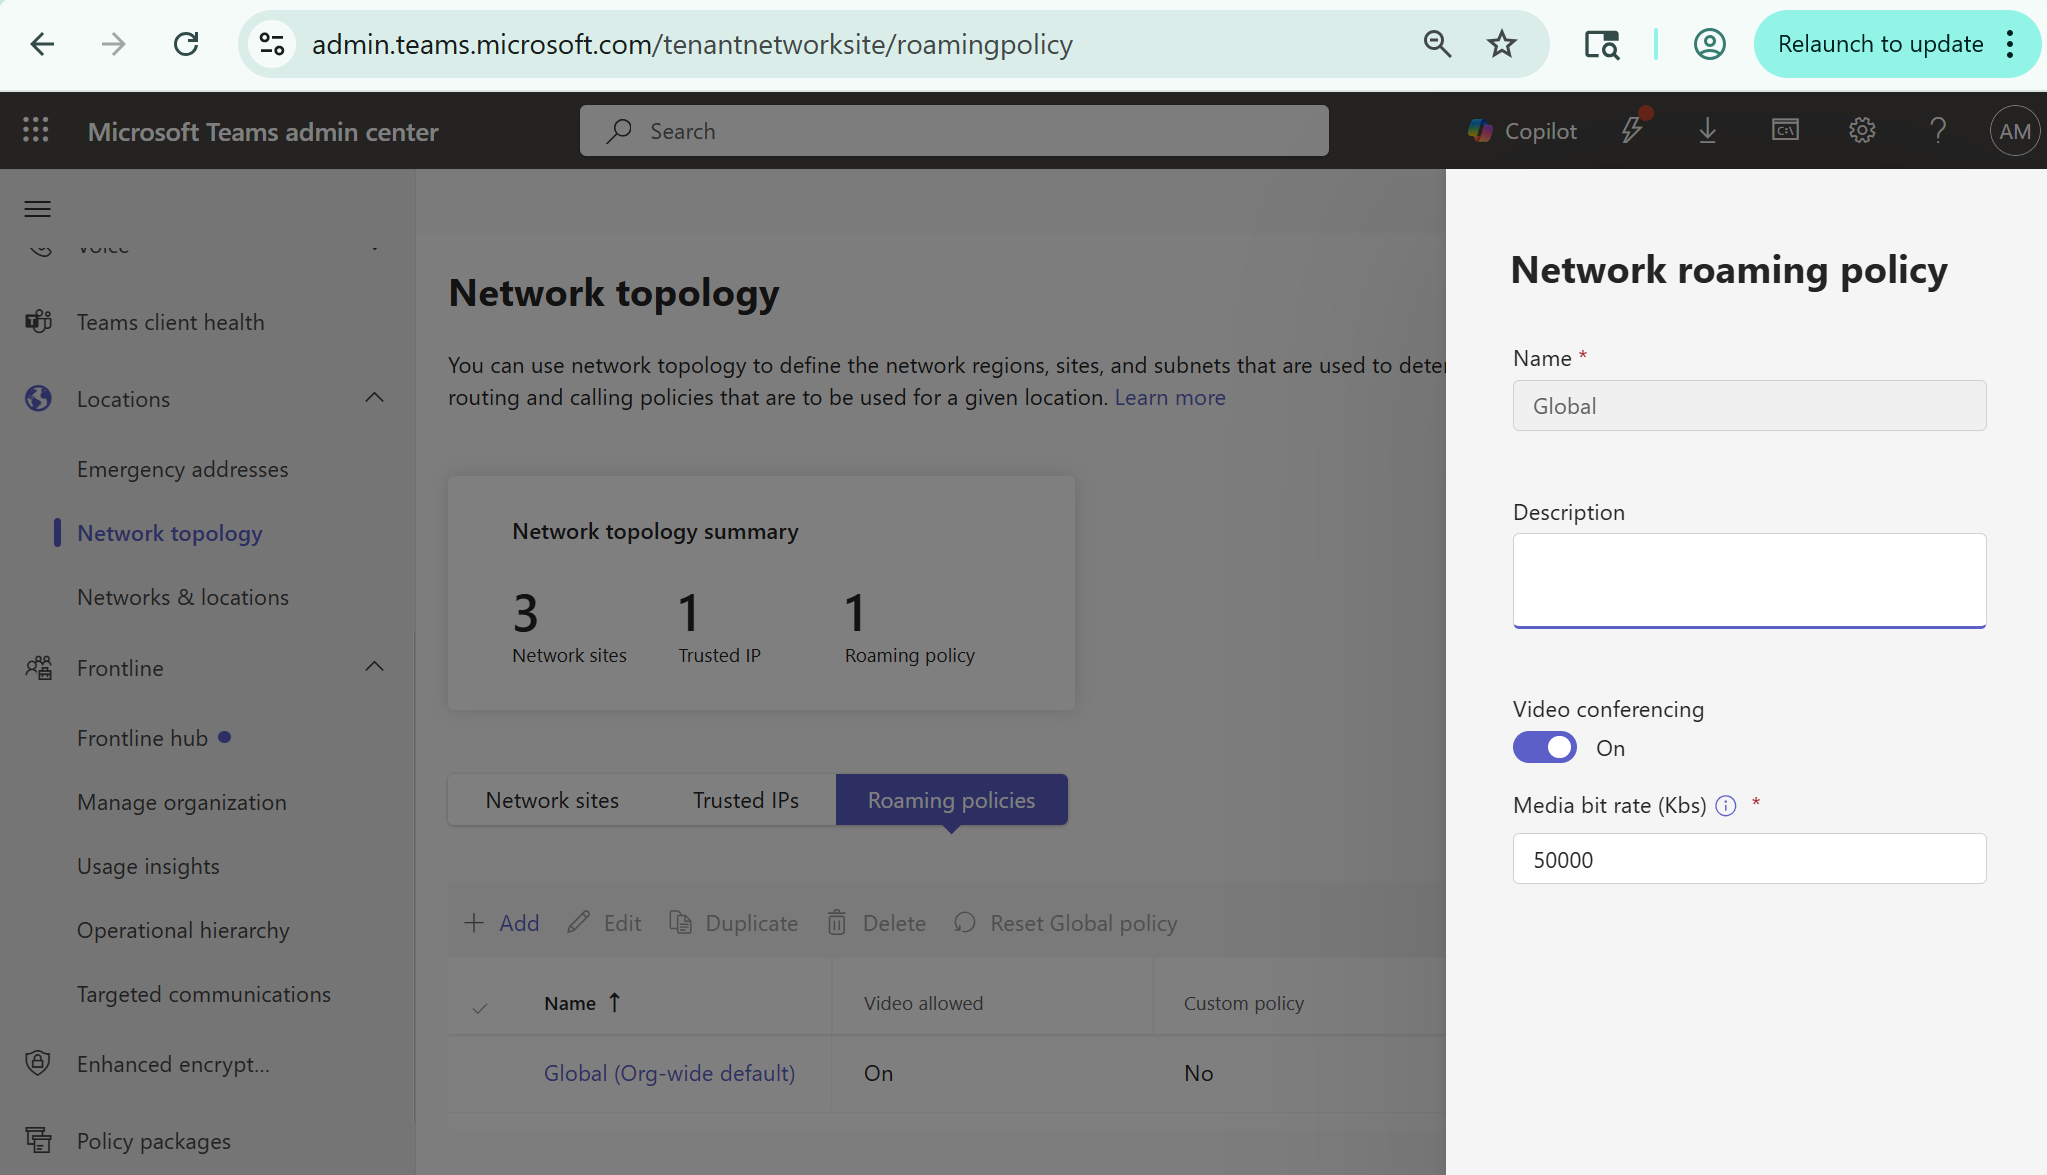
Using Teams presence
There is a slider in queue configuration that, if turned on, will only offer calls to an agent whose presence is available, ie they’re green. I have mixed feelings about this one. It’s great for a group of agents who don’t often have things in their calendar. With groups that have a lot of things in their calendar however, you could wind up with nobody to take calls.
What to pick?
As you can see there are quite a few options, each with their pros and cons. With this breadth of options available, you should be able to select an option or options that work well for you.