Most of the phone functionality in Teams is based on a user having just one phone number. For some users, it would be beneficial to have multiple phone numbers for receiving and placing calls. The particular example I’m thinking of is a sales person who lives in one area, but covers multiple areas – possibly even different countries. While there’s no user configuration for this, it IS possible to get much of this functionality by leveraging call queues.
There are three (or maybe four) things that we need to consider and configure: Outbound calling and phone number, inbound calling and phone number, and voicemail.
The Basics
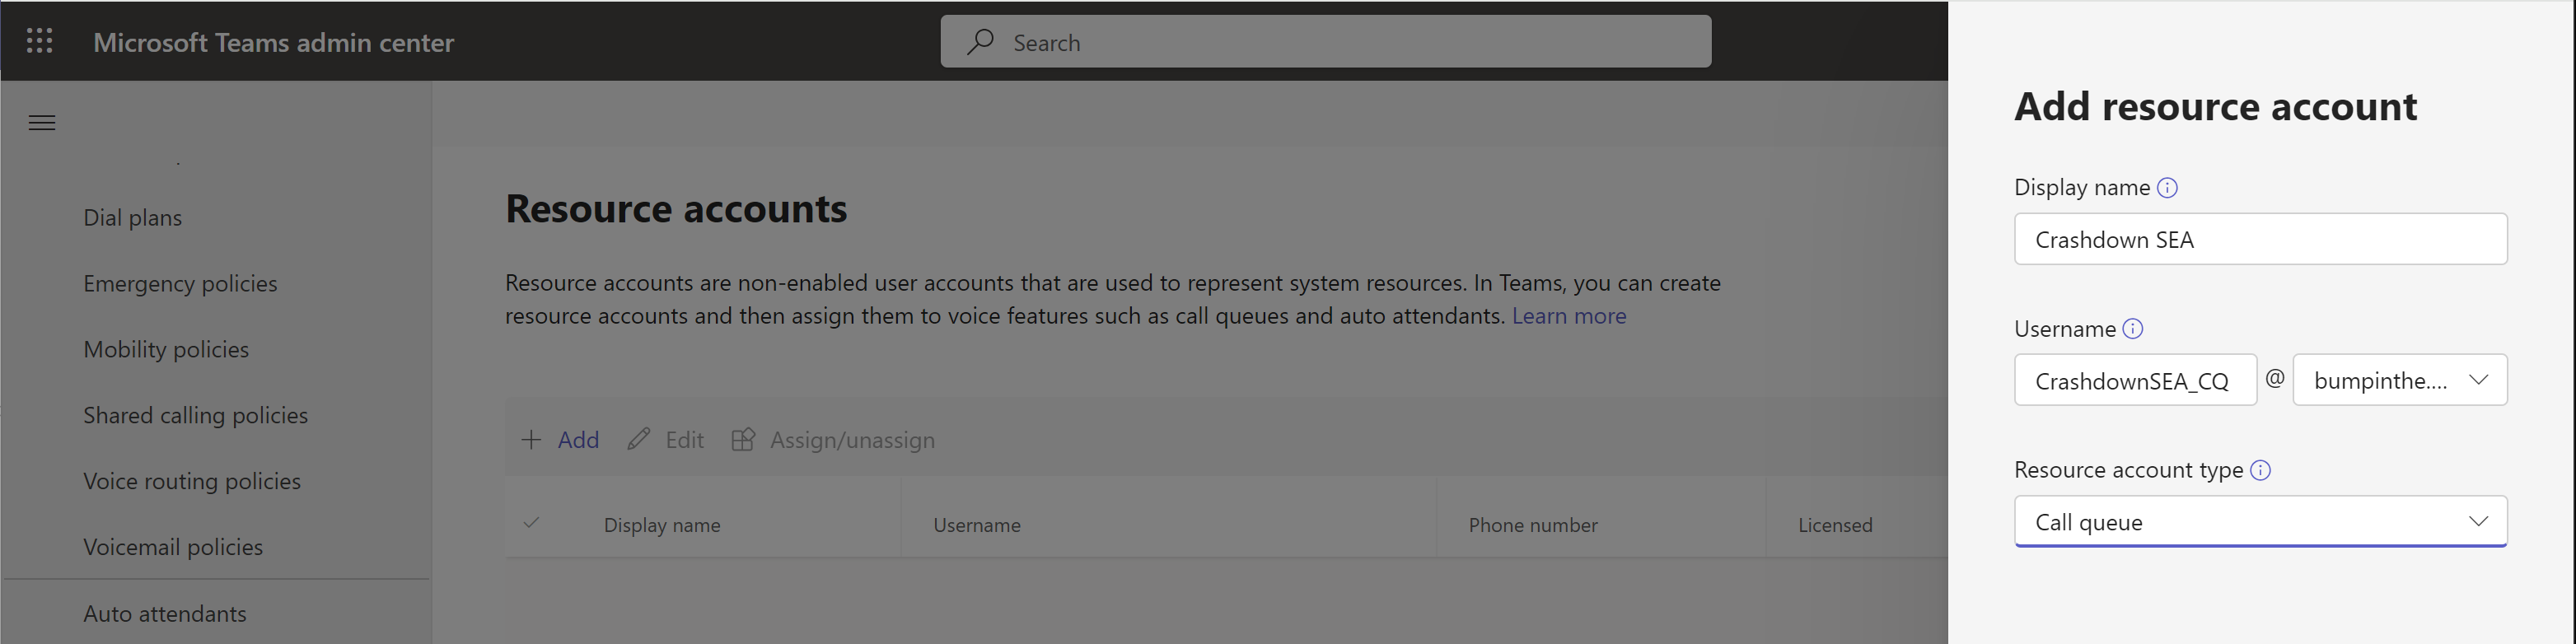
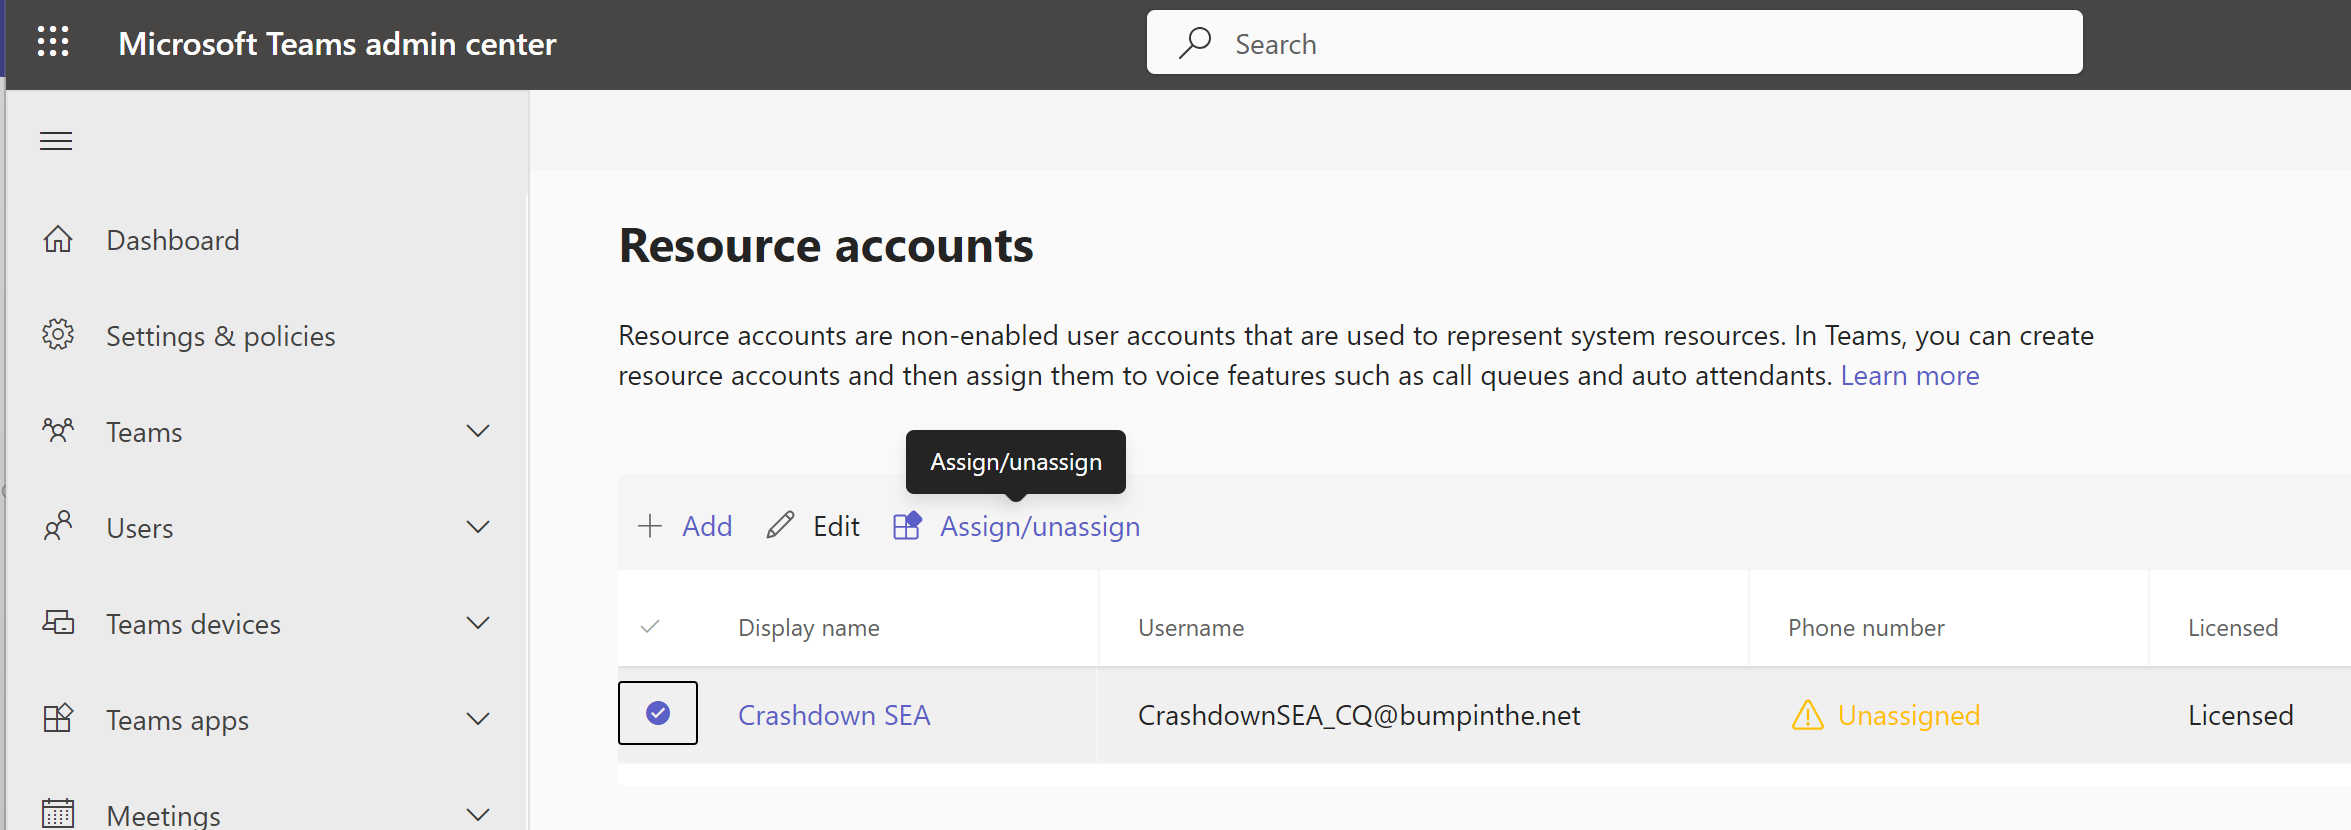
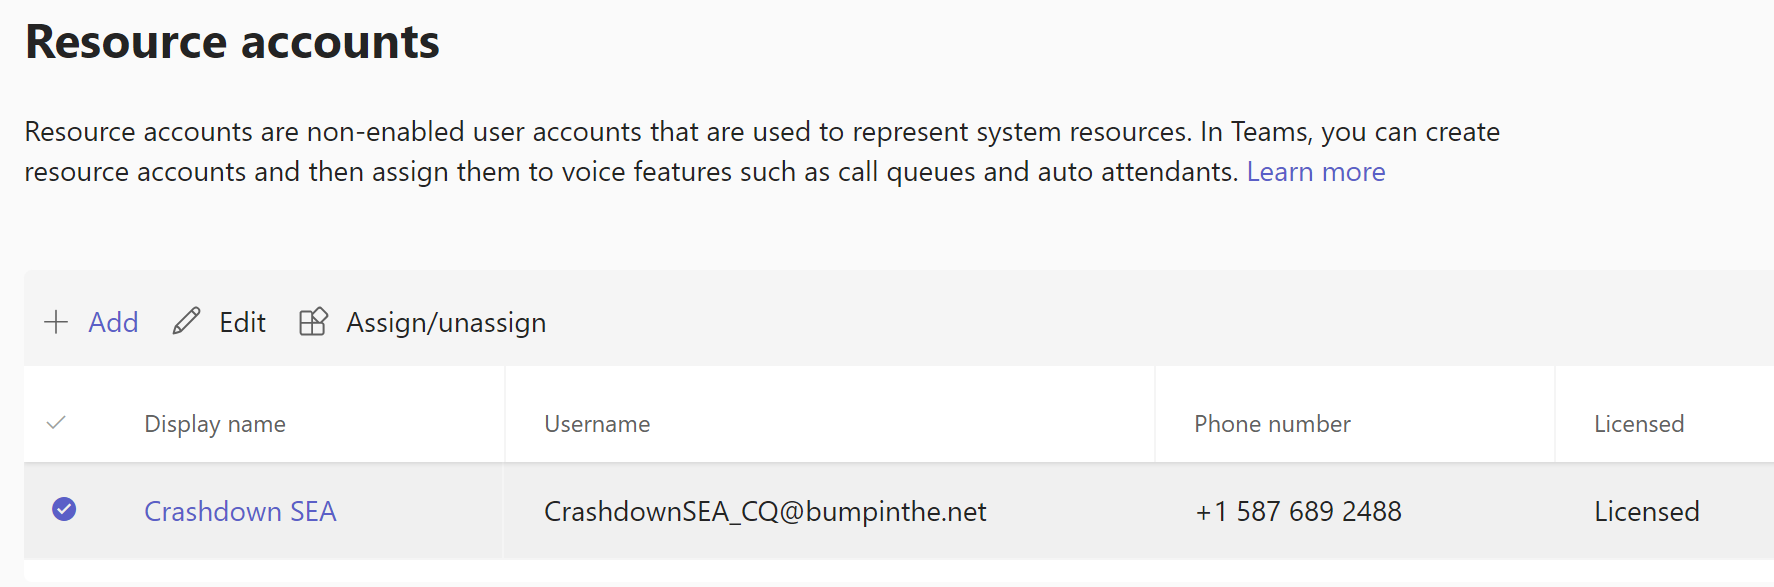
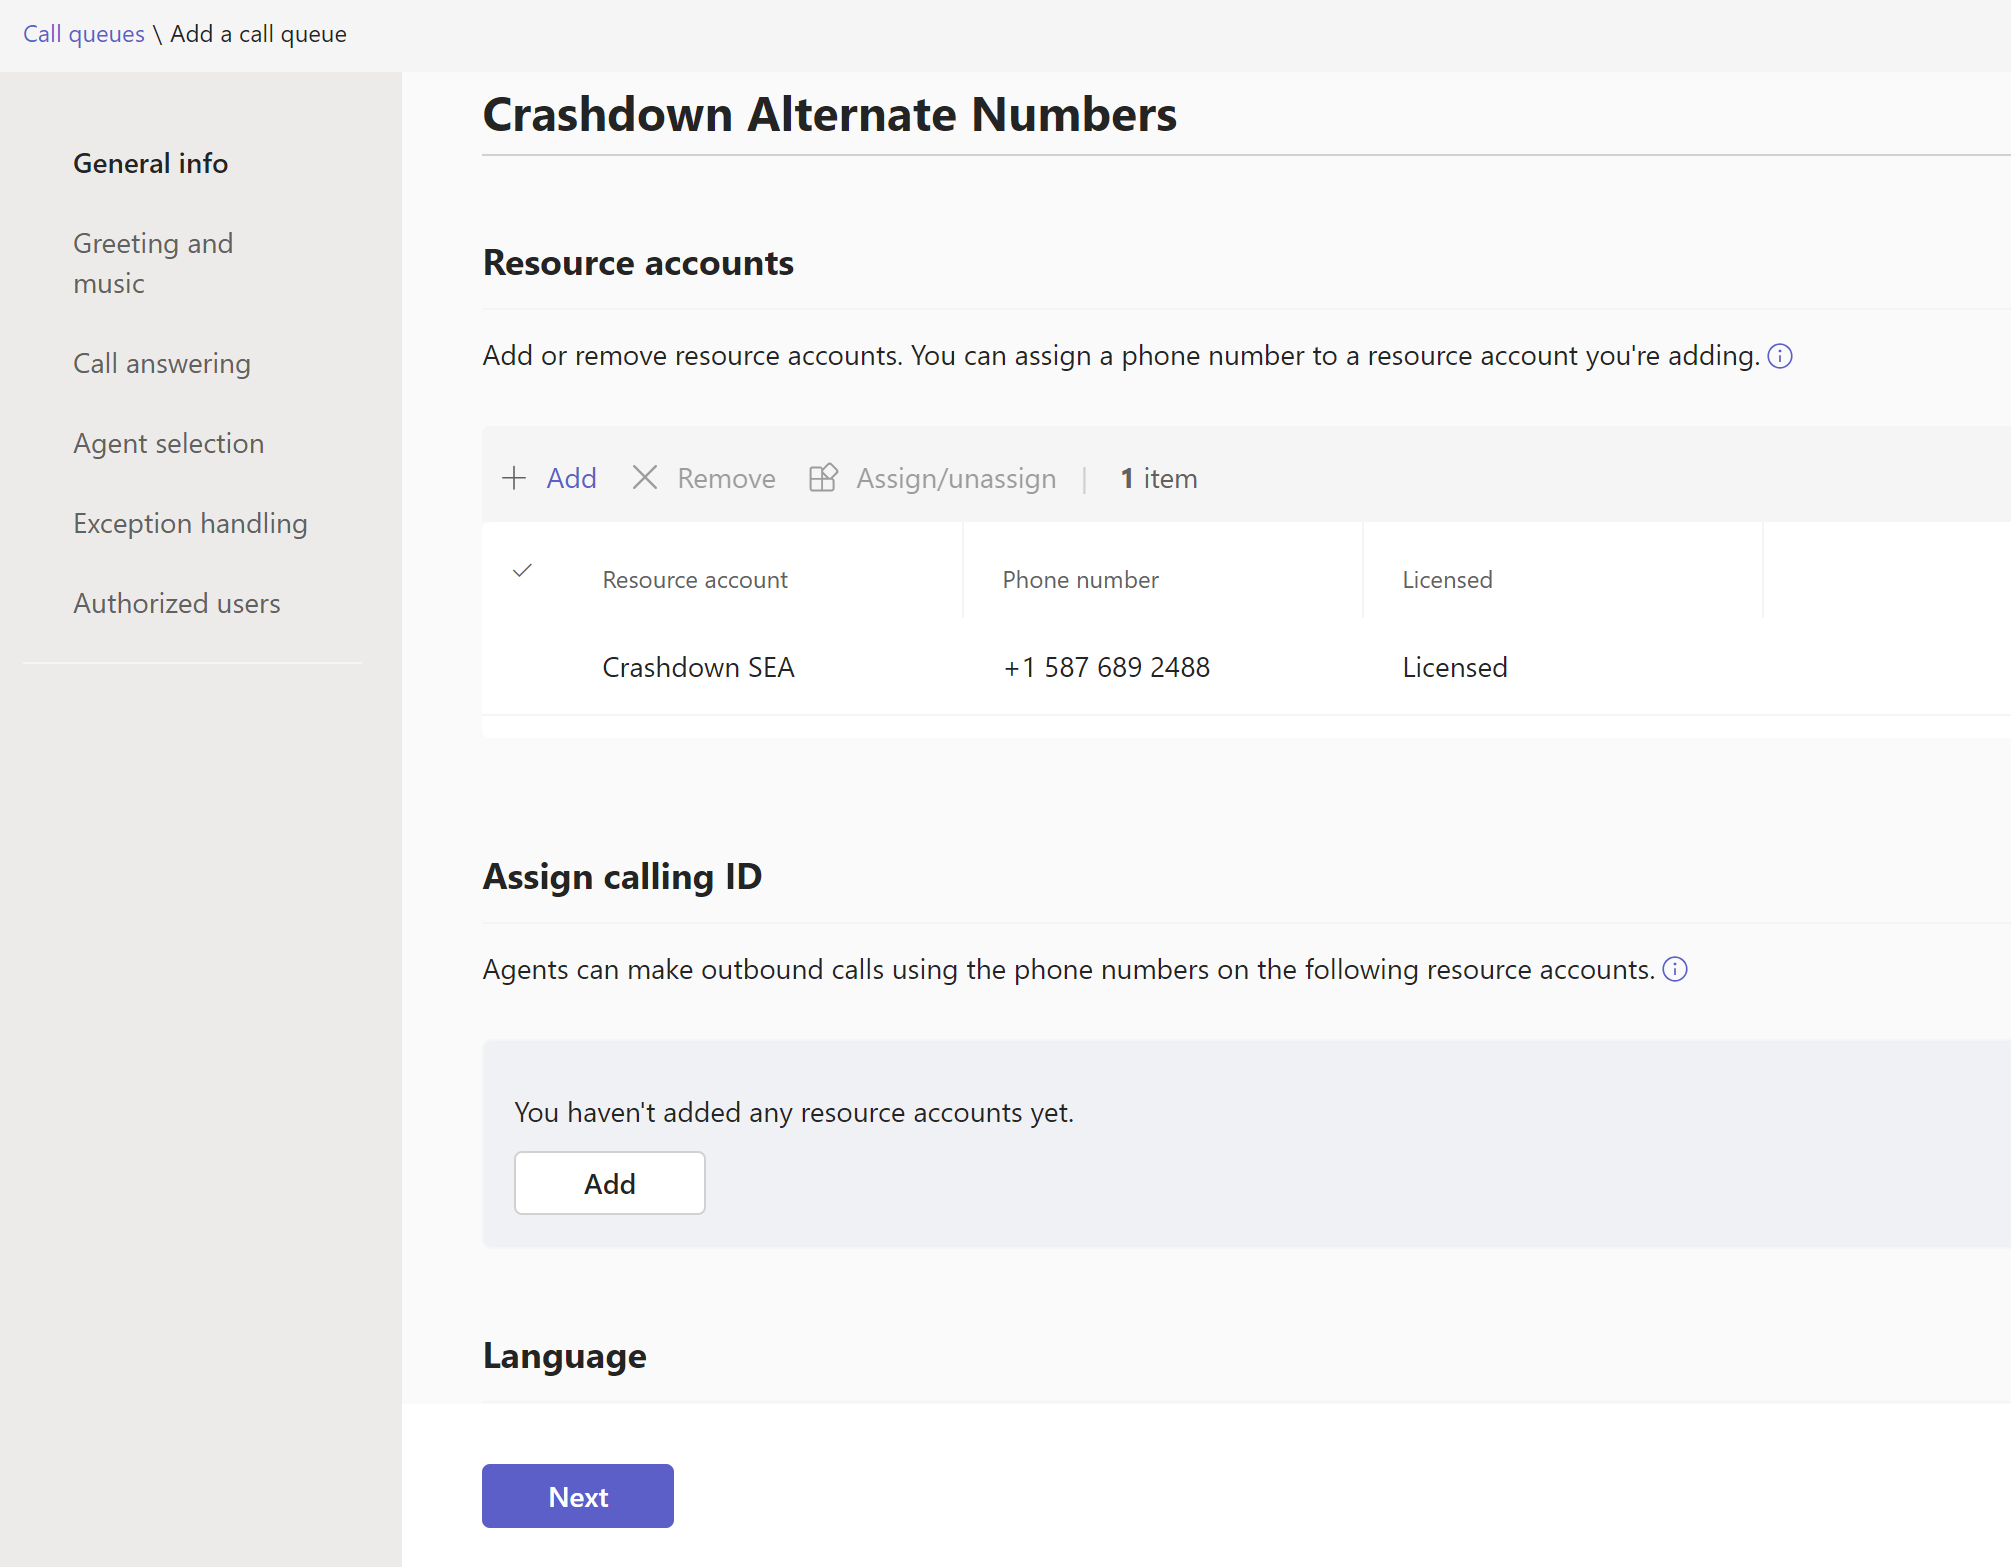
This solution involves a Teams Call Queue, which means that you will need to create a resource account and call queue object. You’ll need to assign a phone number to the Resource Account from the area where you want the additional number. If this is service by Calling Plans, you’ll also need a Calling Plan license for the resource account.
Inbound Calling
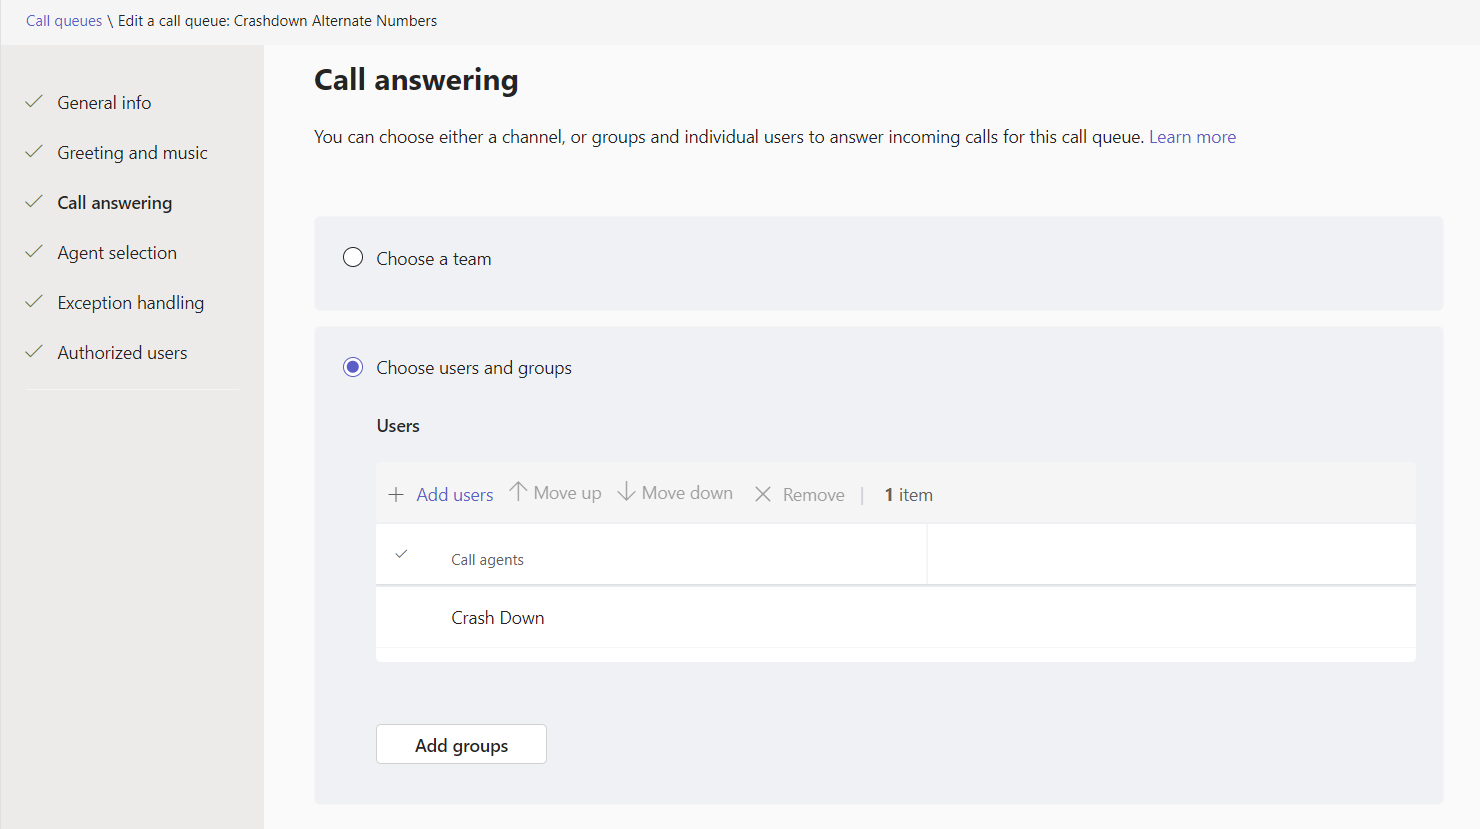
The configuration here is fairly straight forward. Add the user as an agent in the call queue. When the number for the resource account associated with the call queue is called, the user’s/agent’s Teams will ring. Even better, it’ll ring with a toast that indicates the call it to the additional number. Note that the callers will hear the default “hold music” here rather than regular ringing. You can upload any audio file you want to replace this.
Outbound Calling
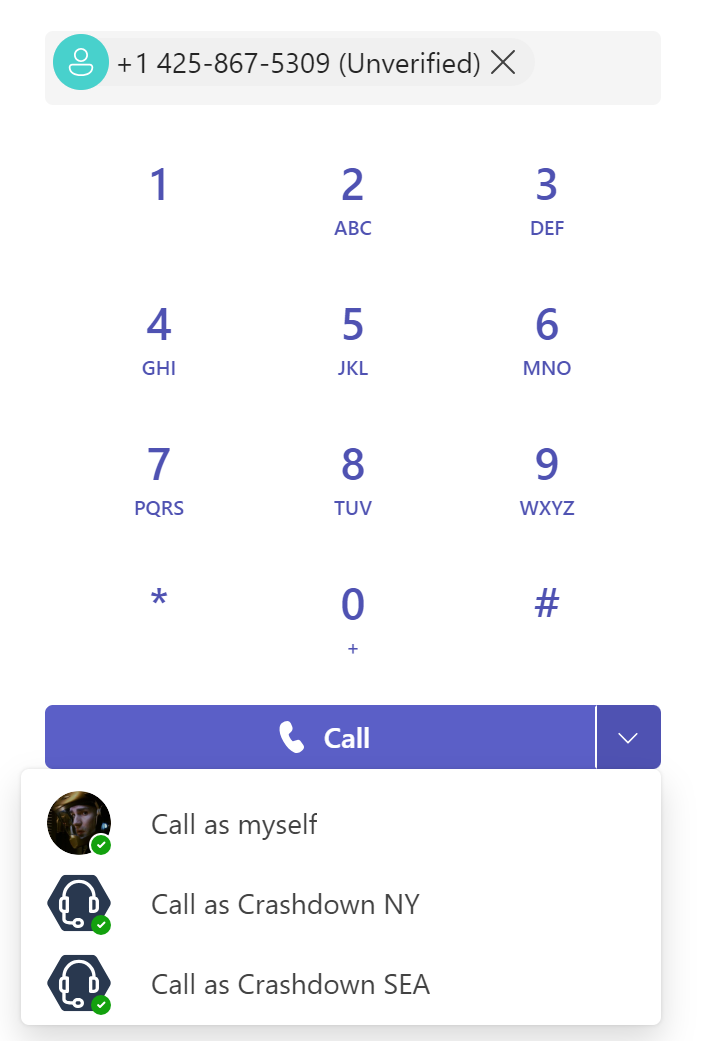
When you’re added as an agent in a call queue, you aren’t automatically able to place outbound calls using the name and number of that call queue. For that capability, the admin also needs to add the resource account to the “Assign Calling ID” section, right below the initial resource account assignment. Now when an agent places a call, there’s a drop down to select which number you want to place the call as. Note that at present, placing calls from your call history does not expose this drop-down. You’ll need to copy/paste the number into the dialpad.
Voicemail
You’ve got two options for voicemail here. The more complex one is to create an M365 group and configure the timeout action on the call queue to send calls to this group. The more straight-forward solution is to have the timeout action send the call to the user’s mailbox, so that everything is in one spot.
Multiple Additional Numbers
If you want to have more than one additional number, you don’t need to build out additional call queues. Instead, create an additional resource account and assign it to the call queue.
Advanced Call Handling
One area where this solution falls down, is when you want to take advantage of any advanced call handling – simultaneous ring, delegates, and the like. You can’t take advantage of those features with the solution I’ve described above as the user is never called directly, and these features require the user to be called directly and not as a call queue agent.
This shouldn’t be that big of an issue for most. Simring is rarely used with such excellent mobile clients, and the delegation functions could be solved by adding the other parties as agents in the call queue as well. If you absolutely must have this functionality, you can configure the call queue timeout value to 0 seconds and configure it to send calls to the user. This will allow all of the advanced user-level call handling, however it will no longer give the user the special toast/ring notification that the call is for their alternate number.
You could also build an auto attendant to handle the inbound calls, this will give you some richer call handling possibilities. For outbound calls, add the auto attendant’s resource account to the “Assign Calling ID” section of the call queue configuration – you would still need to build a call queue for this function.
Update: Private Line
An update here in March 2024 – private line functionality has been added to Teams. With this capability, a user can be assigned a second phone number. This does not address the above scenarios however. Private line is only for inbound calls, and will always ring through to the user – it will not follow any advanced call handling scenarios. It does provide for distinct notification in the client when ringing, however. Private line is best suited for scenarios where a call must absolutely reach the user (or their voicemail), and where that number should be kept confidential.