
When I’m working in my lab tenant on things that I write about here, I often want a different name for a Call Queue or Auto Attendant or the associated Resource Account, to make them more meaningful for the scenario I’m working on. That’s a quicker, nicer prospect than building new ones each time, and shuffling licenses and phone numbers around.
Outside of my lab environment example, there a few reasons you might want to do some renaming. The first would be a change in naming scheme used in the organization – perhaps “Main – Seattle” needs to now be called “US-WA-SEA-Main”.
Another would be that you’ve made a typo or other error during creation. A third might be that the purpose of the CQ or AA has changed, and a different name would be more reflective of the purpose. For example, if Teams is rolled out to one office, the Auto Attendant might be called “Contoso Seattle”. Later on, another office might open that uses the same Auto Attendant, but it isn’t located in Seattle. Renaming to “Contoso US-Pacific Northwest” might make more sense.
And finally, remember that the name of a call queue or auto attendant is only for the “under the hood” IT admin work. Users/callers never see these names. What users see is the resource account display name, and they may also interact with the username/UPN, though that’s rare.
With that, let’s get changing!
Within Teams, you can name Call Queues and Auto Attendants in TAC:
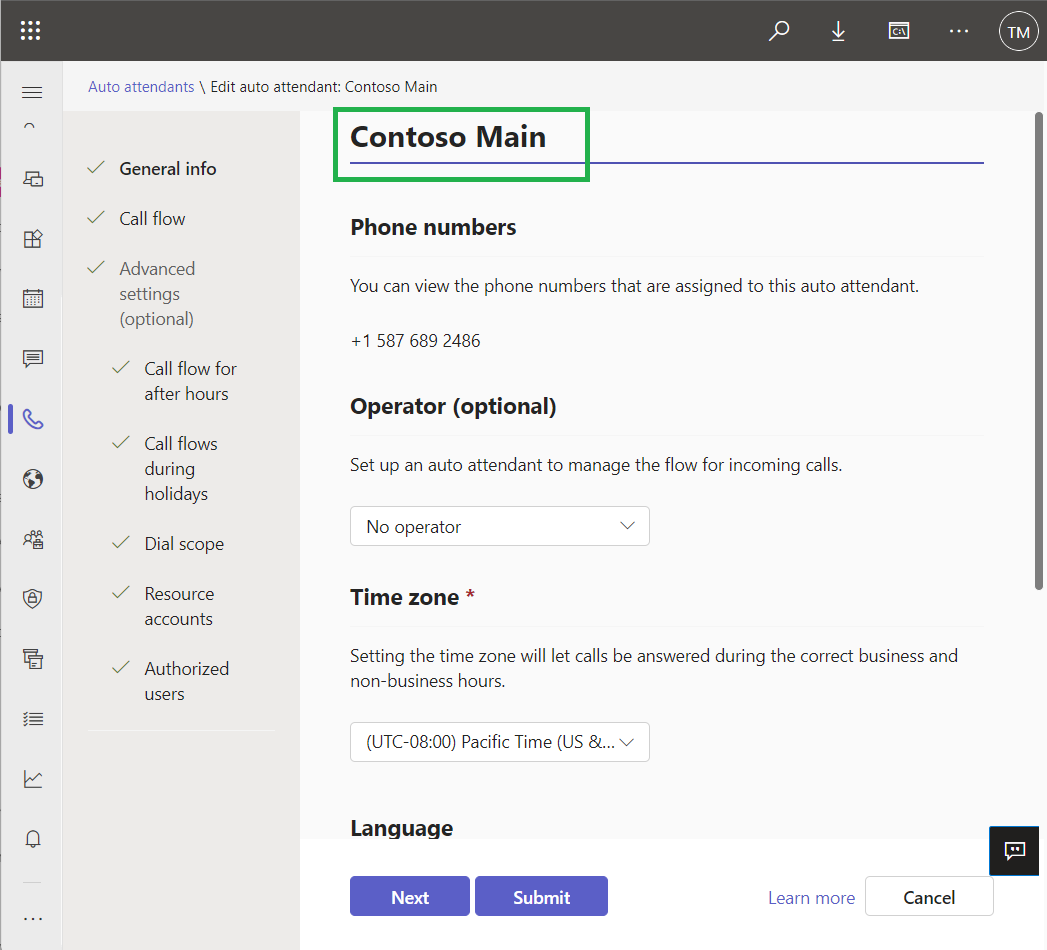
The name is freely editable.

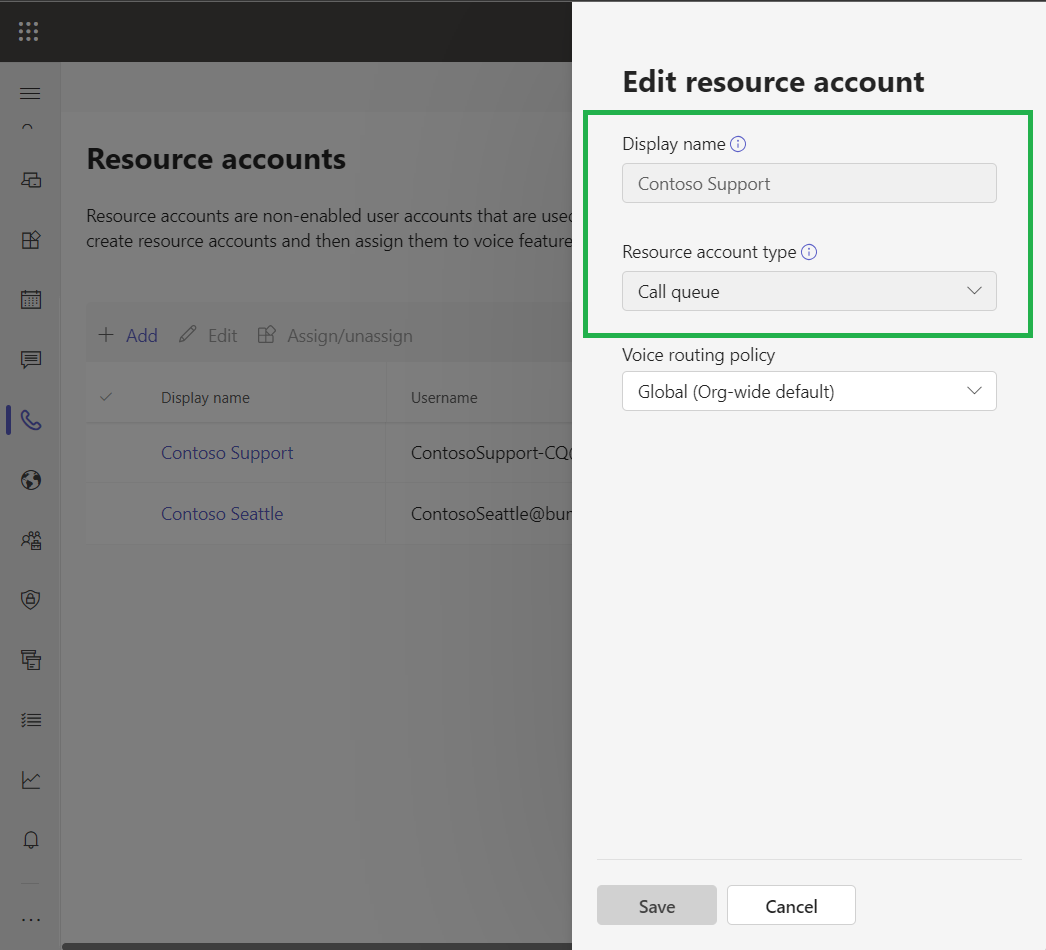
Resource accounts associated with the AA or CQ are a different story. They can’t be edited, either the Display Name or the Username. Well, at least in Teams they can’t.
If you head to the Microsoft 365 admin center, Users, Active Users and select the user object associated with your resource account, you’ll see this screen.
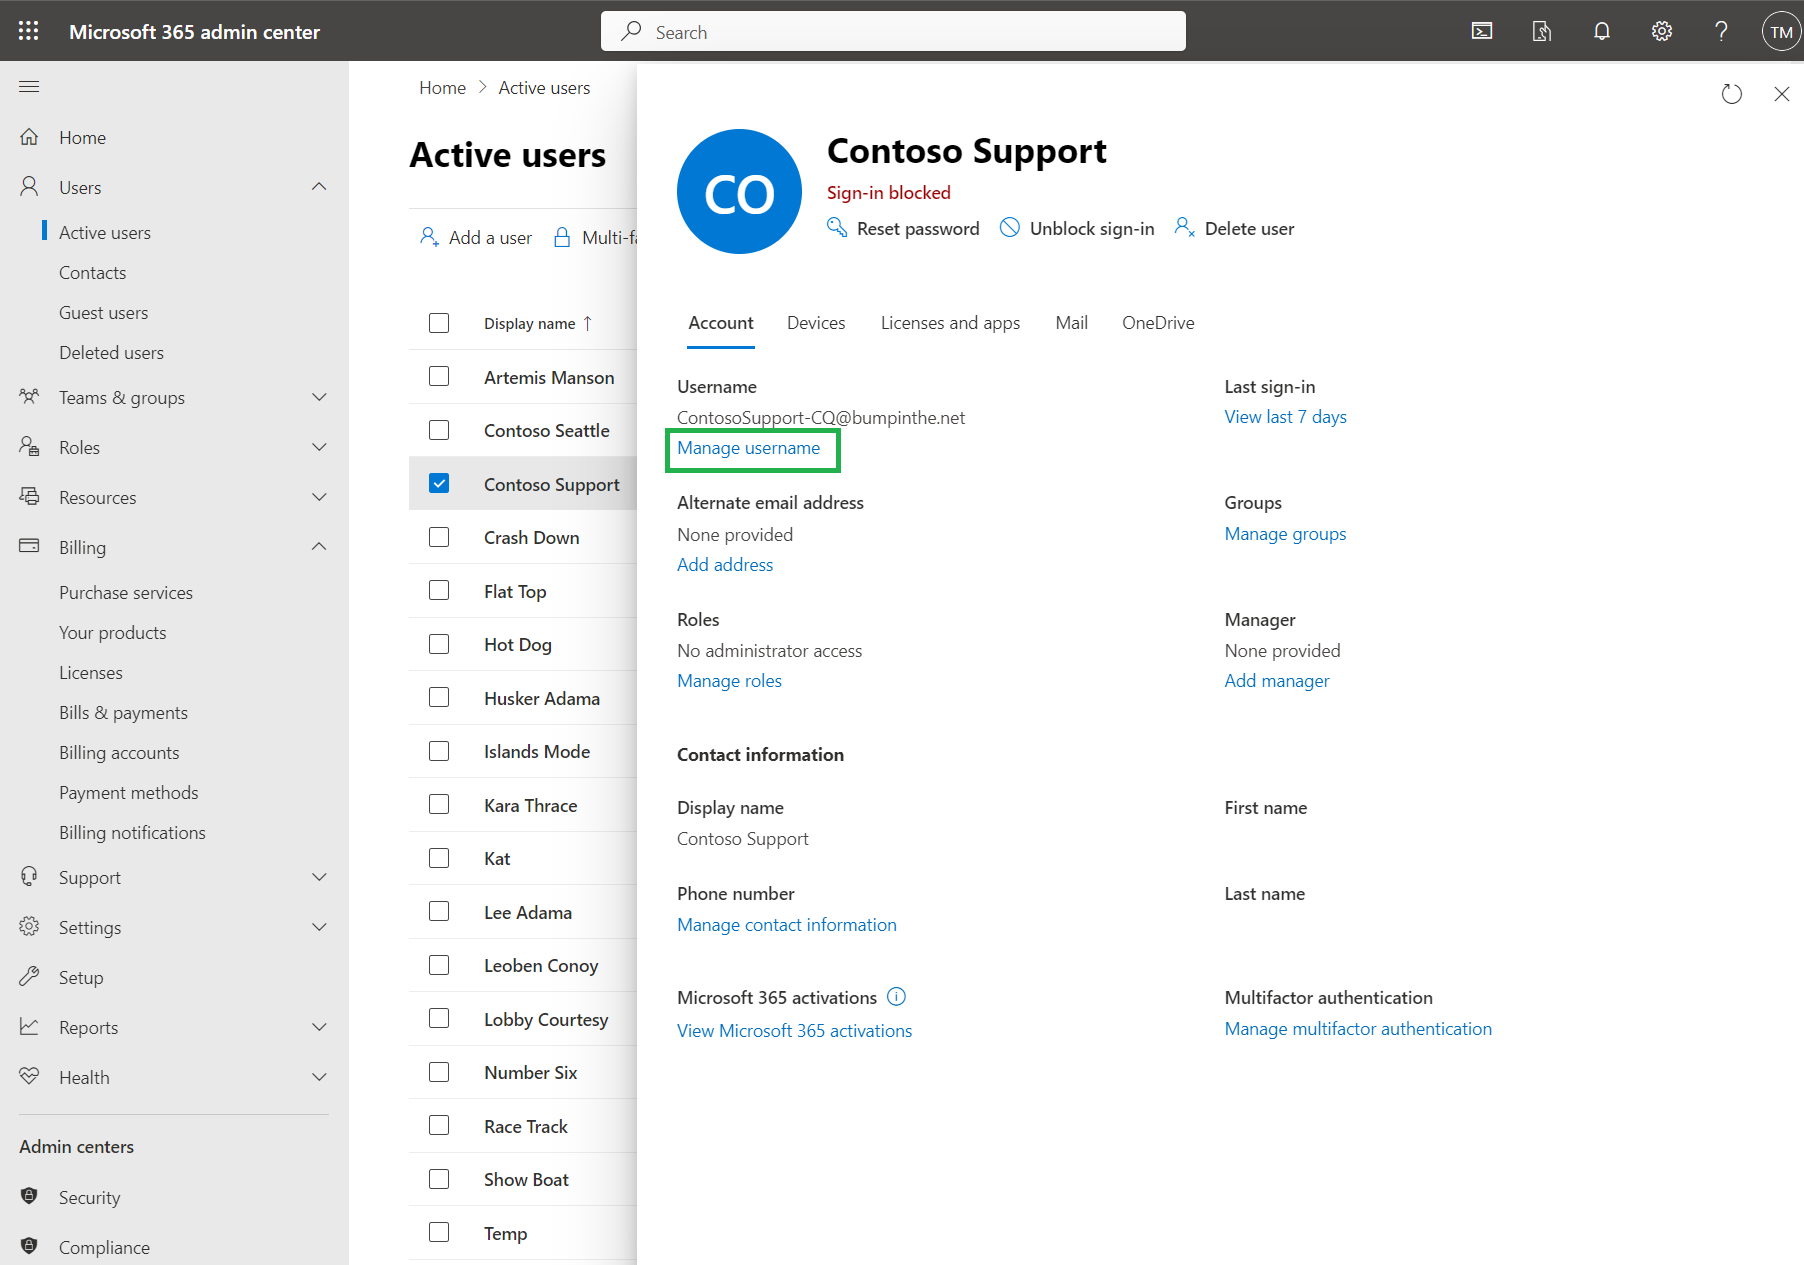
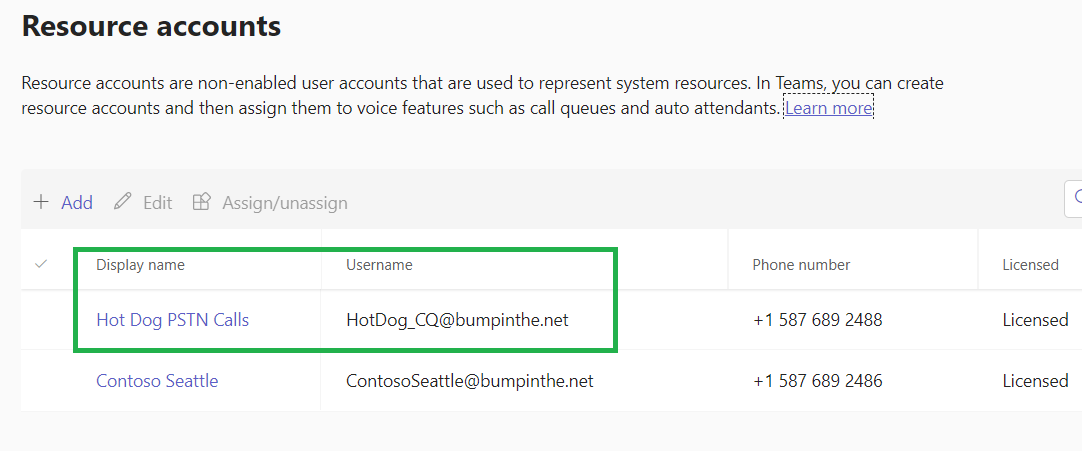
From here you can click on Manage Username and you’ll be able to edit away. Click “Save changes” and you’re done, and TAC reflects the change:

But now our Display Name is still a mess. Head back to the Microsoft 365 Admin Center, and this time click on “Manage contact information”, near the bottom of the screen.

And from here you can update the Display Name

And our change is reflected in Teams
Note that it might take a few seconds (or even a couple of minutes) for Teams to reflect your updates. Hit refresh after a while and you should see the changes.
Happy updating!
