
My last post talked about how it was possible to have a user able to use multiple numbers for inbound and outbound calls.
Step 1: Resource Account
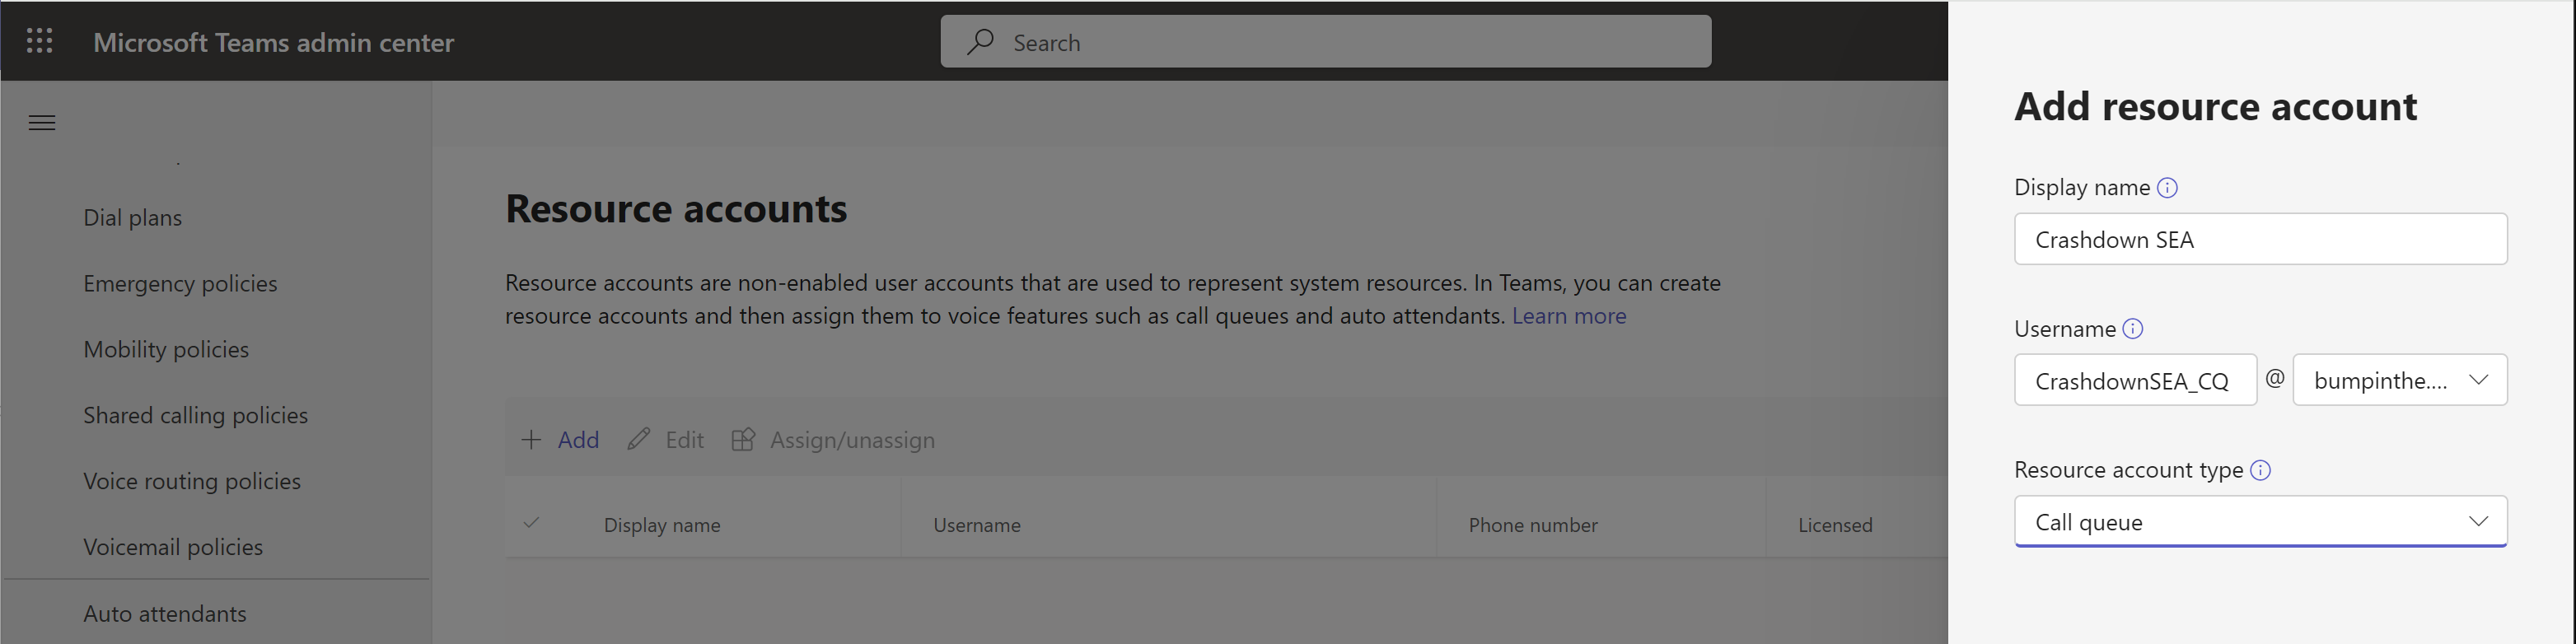
The first step is configuration of the Teams Call Queue, which means first creating a Resource account. Here’s the Resource account config for Crashdown’s Seattle number:
After creating that in Teams, hop over to M365 admin center to license it:


On this licensing step, if you’re using calling plans you’d also need to add a calling plan license. I’m using direct routing, so no need for that here.
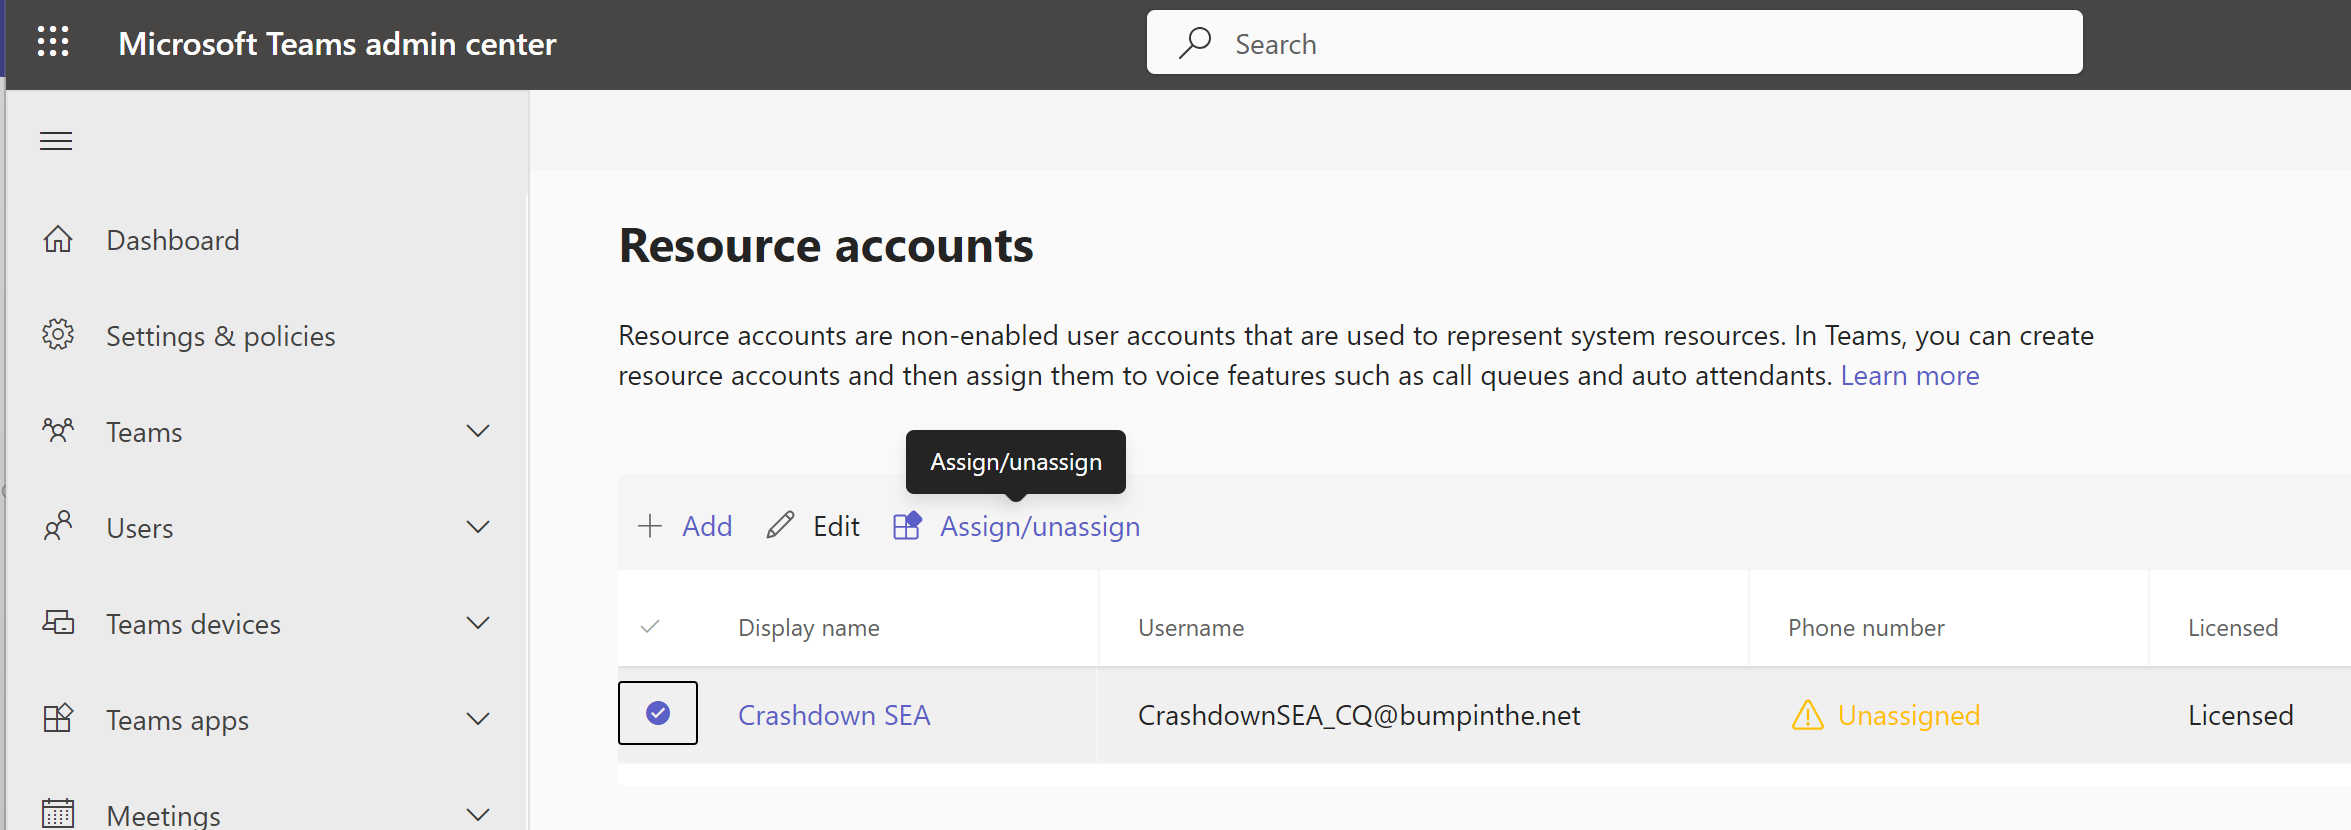
Back in Teams, the Resource account shows as licensed:
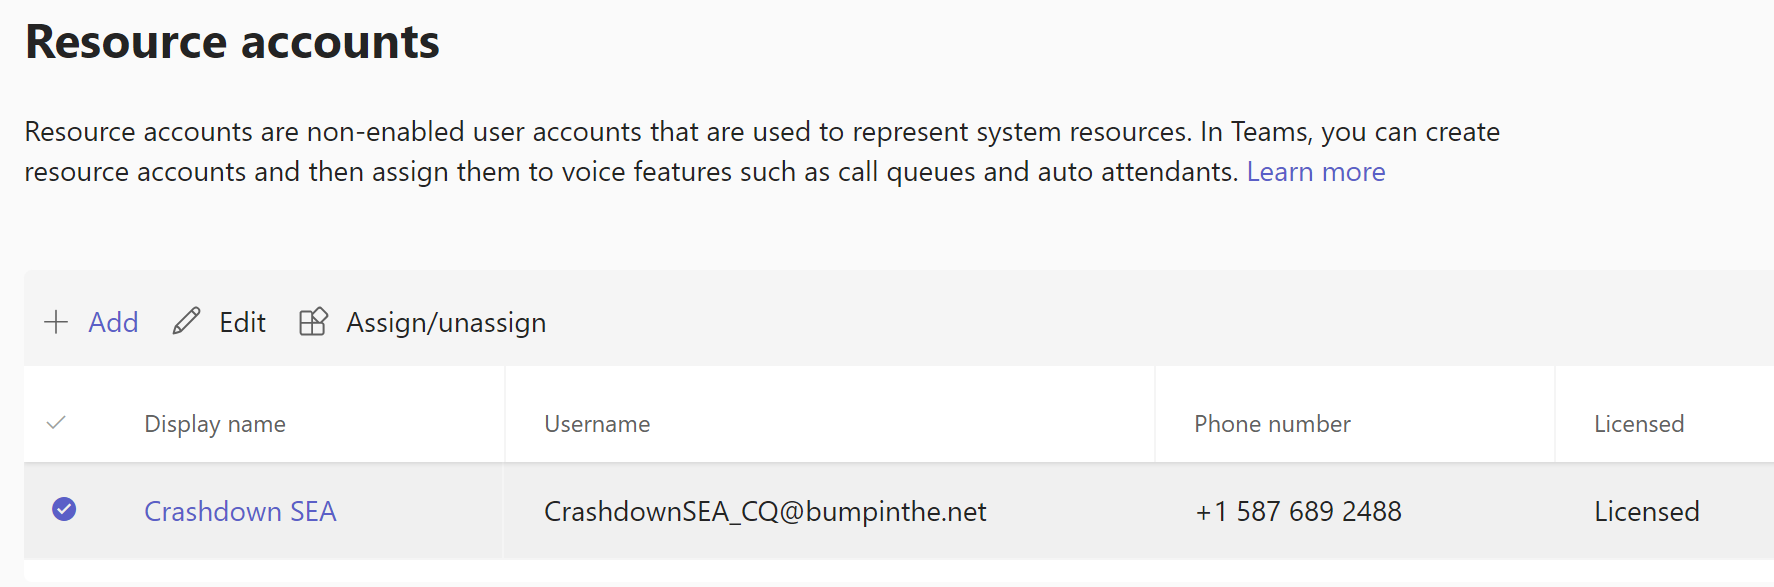
And now we can assign our phone number

And our resource account is done:
Step 2: Call Queue
Now we need to create a call queue.

Click the “+ Add” button,
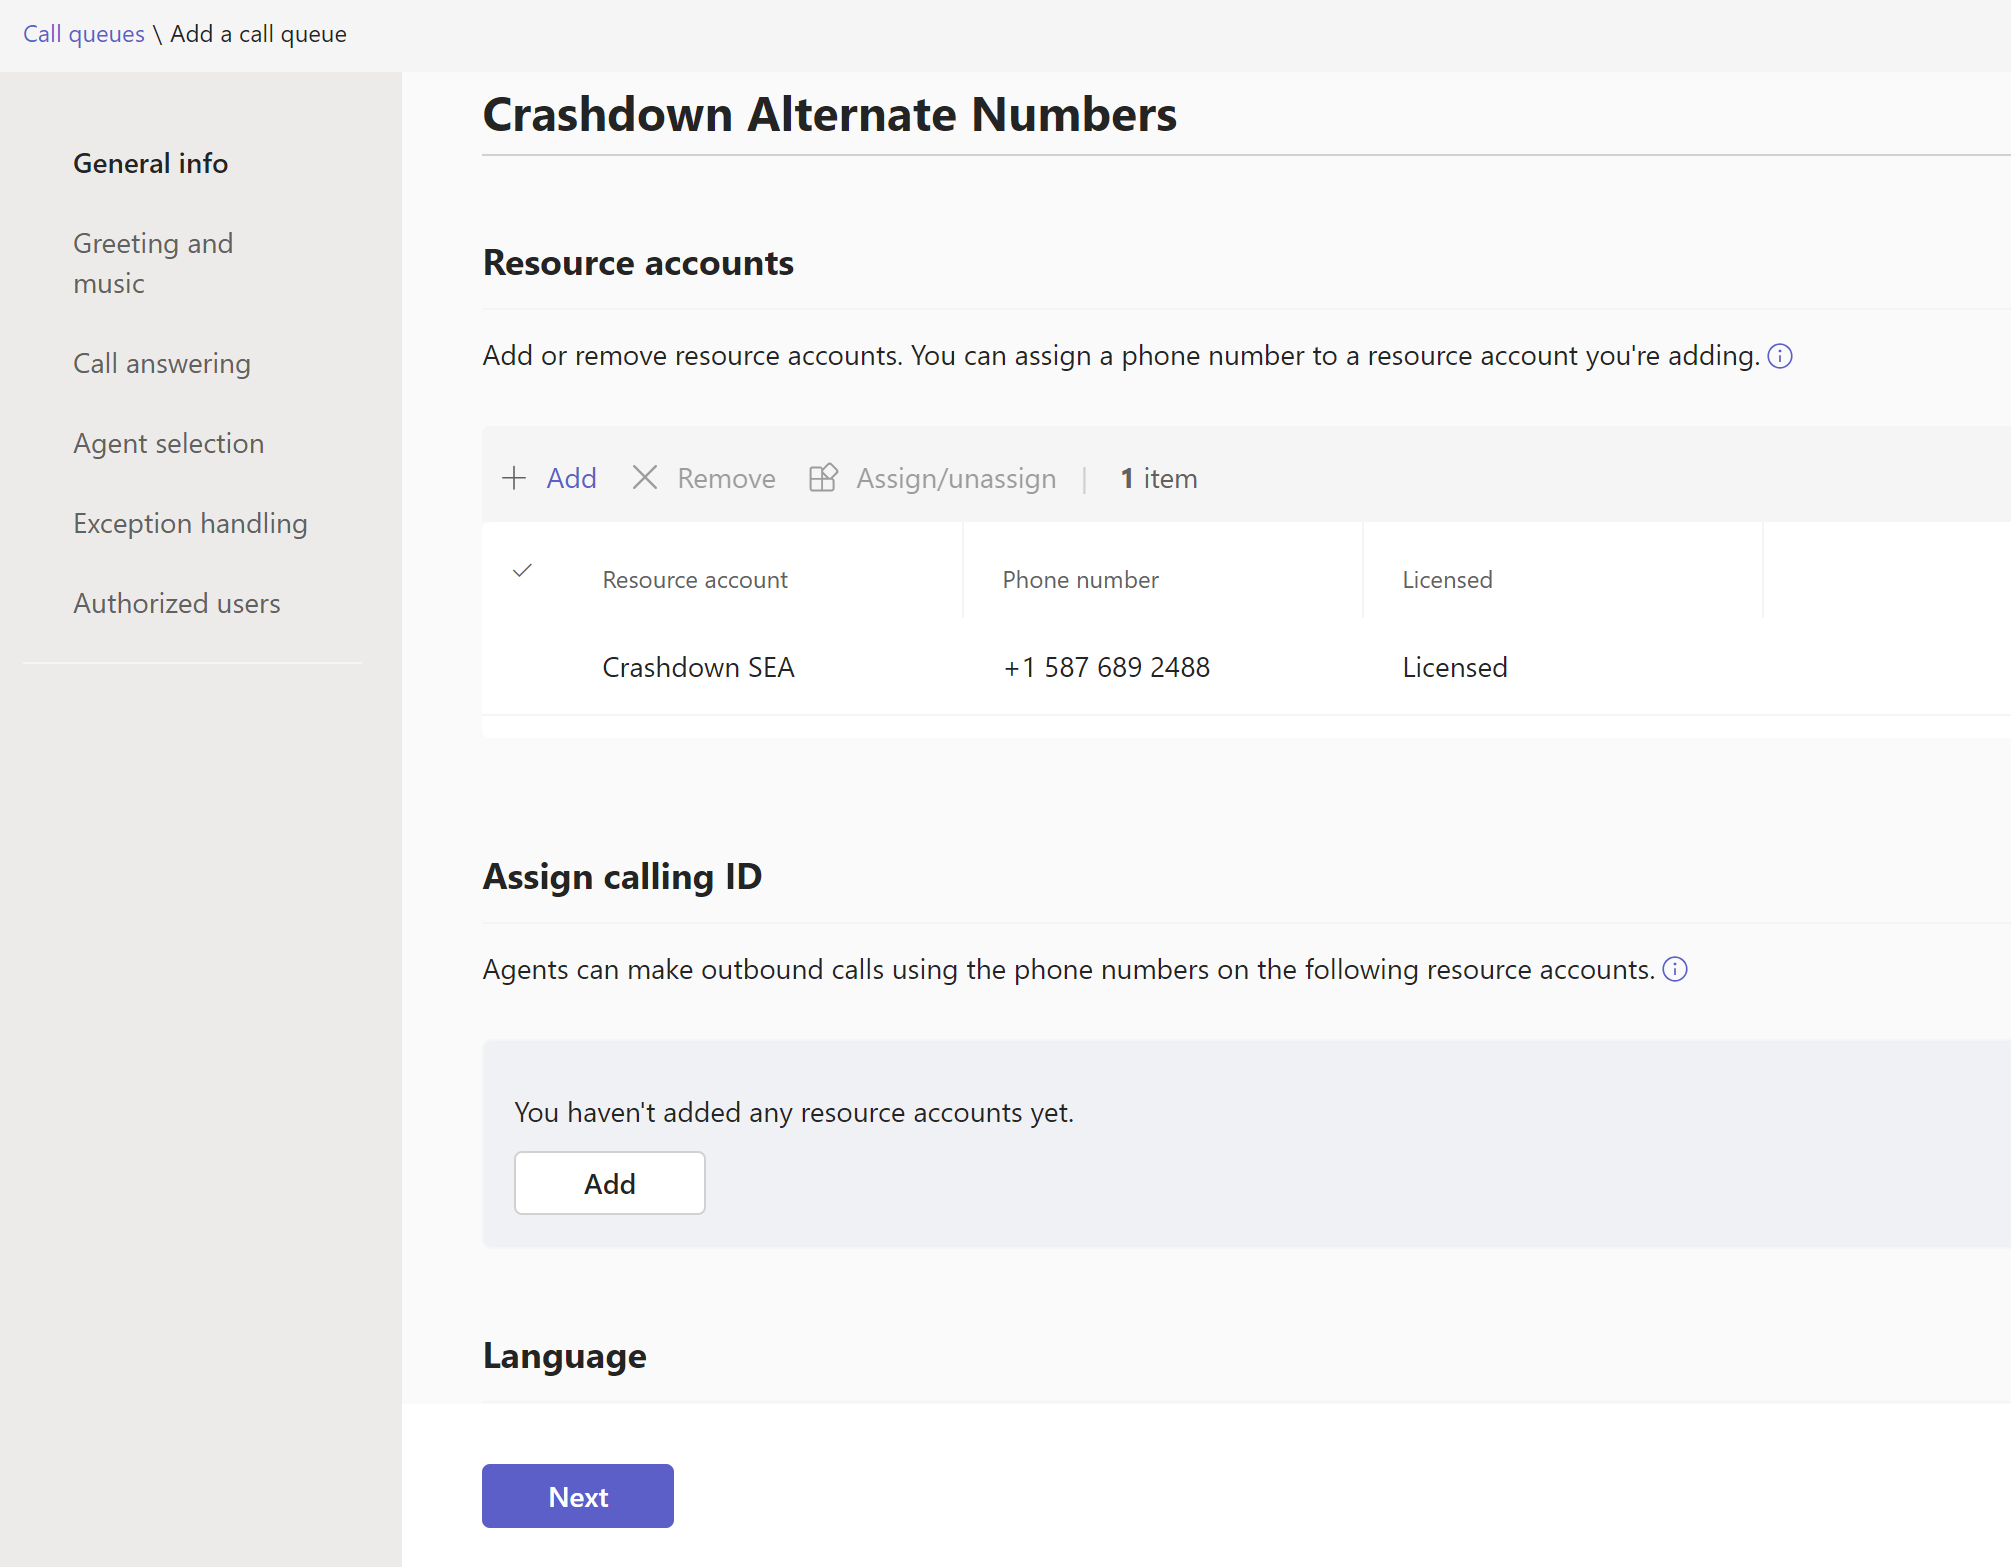
then enter a name (here, “Crashdown Alternate Numbers”), then click the “+ Add” button on this page to assign the resource account we just created to this call queue (yea, I don’t like the varied usage of “Add”, “New”, “Assign” and so on either).
Click the “add” button for Assign calling ID and add the same resource account again here too. This step allows the agents to call out as this call queue:

On the next page you probably want to leave the “Greeting” as no greeting. Music on hold default is the “spa music” default. You might want to change this to something else if this sounds weird to callers.

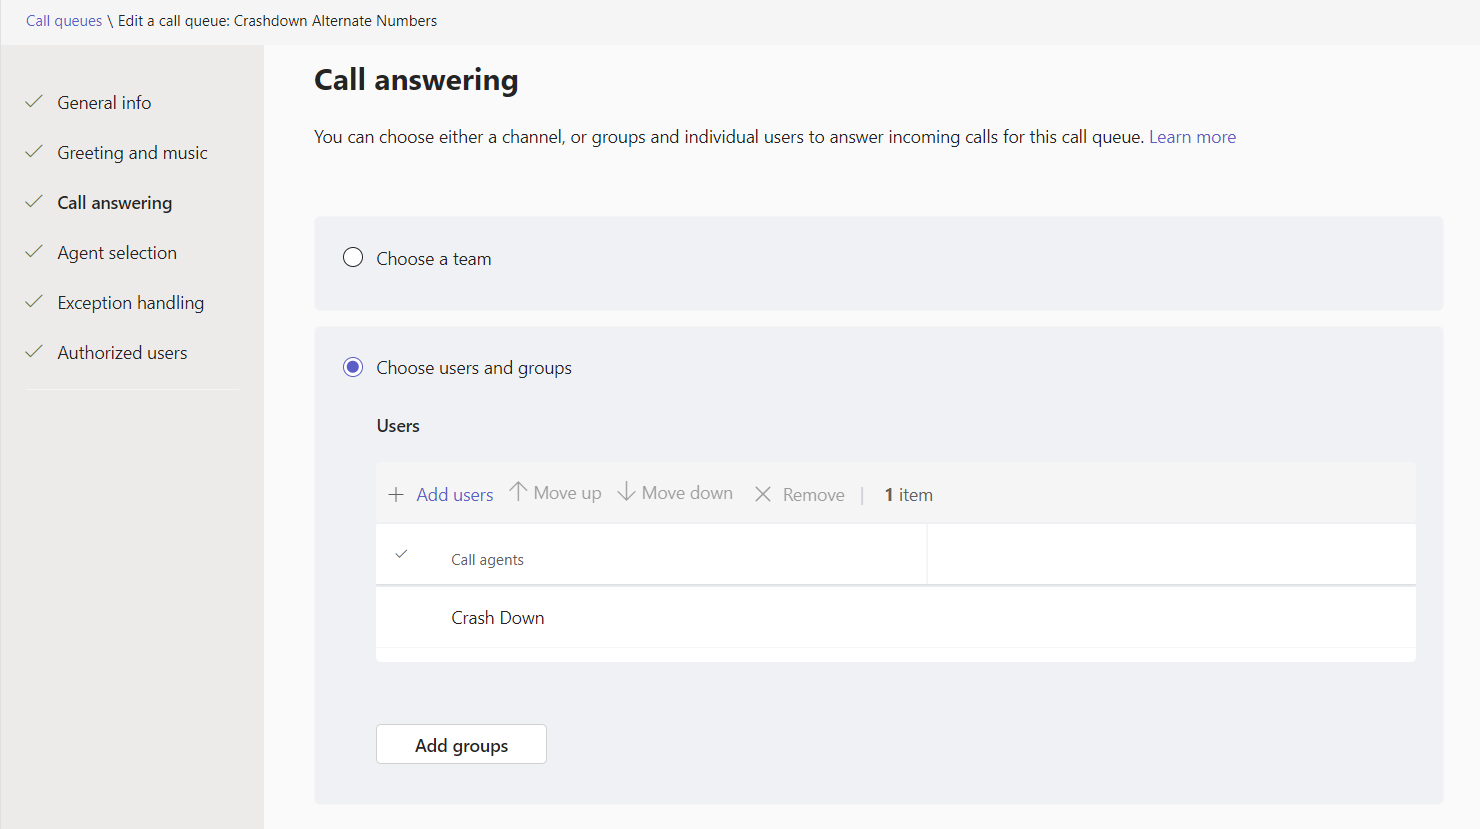
On the Call Answering tab, add the user:
Agent selection options can be left as defaults:

Set the exception handling for the Call timeout to 30 seconds (or whatever the user’s preference is), and the timeout to redirect to their personal voicemail.

And hit submit.
Inbound calls to this number will look like this:

and for outbound calls, the user can click on the down arrow on the Call button and select which account to place the call as:
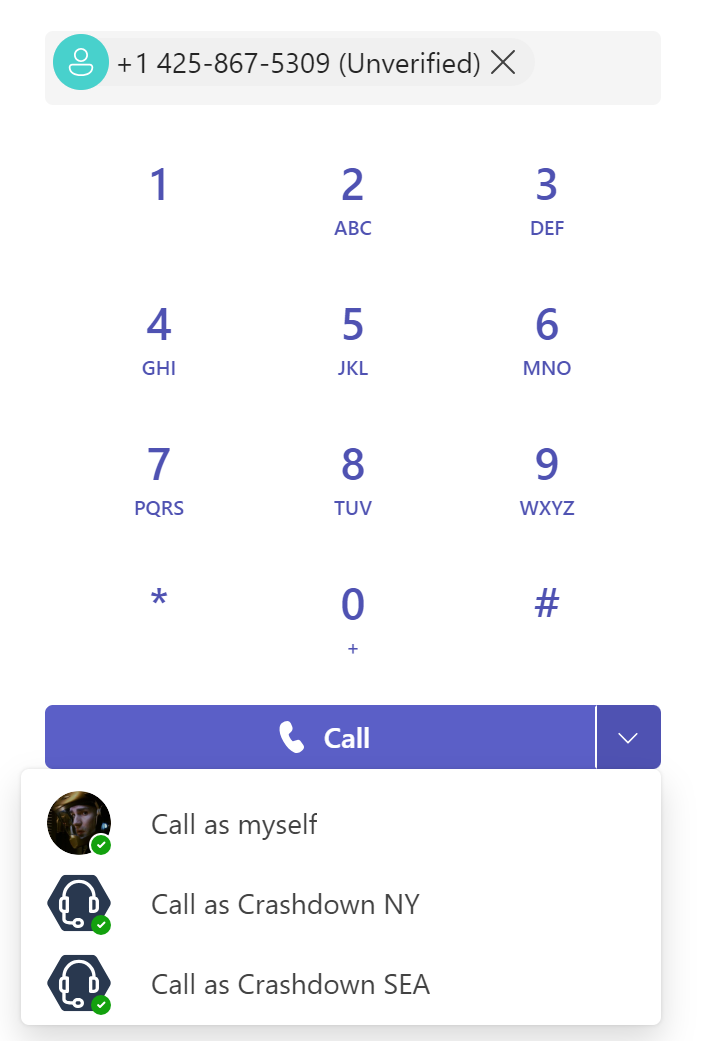
In this screenshot, I’ve already added another number for Crashdown in New York.
And you’re done!
